Sewanee Faculty Support
A page listing the University's faculty support staff for further help.
This page explains how to use the Instructor Camera and the Student Camera.
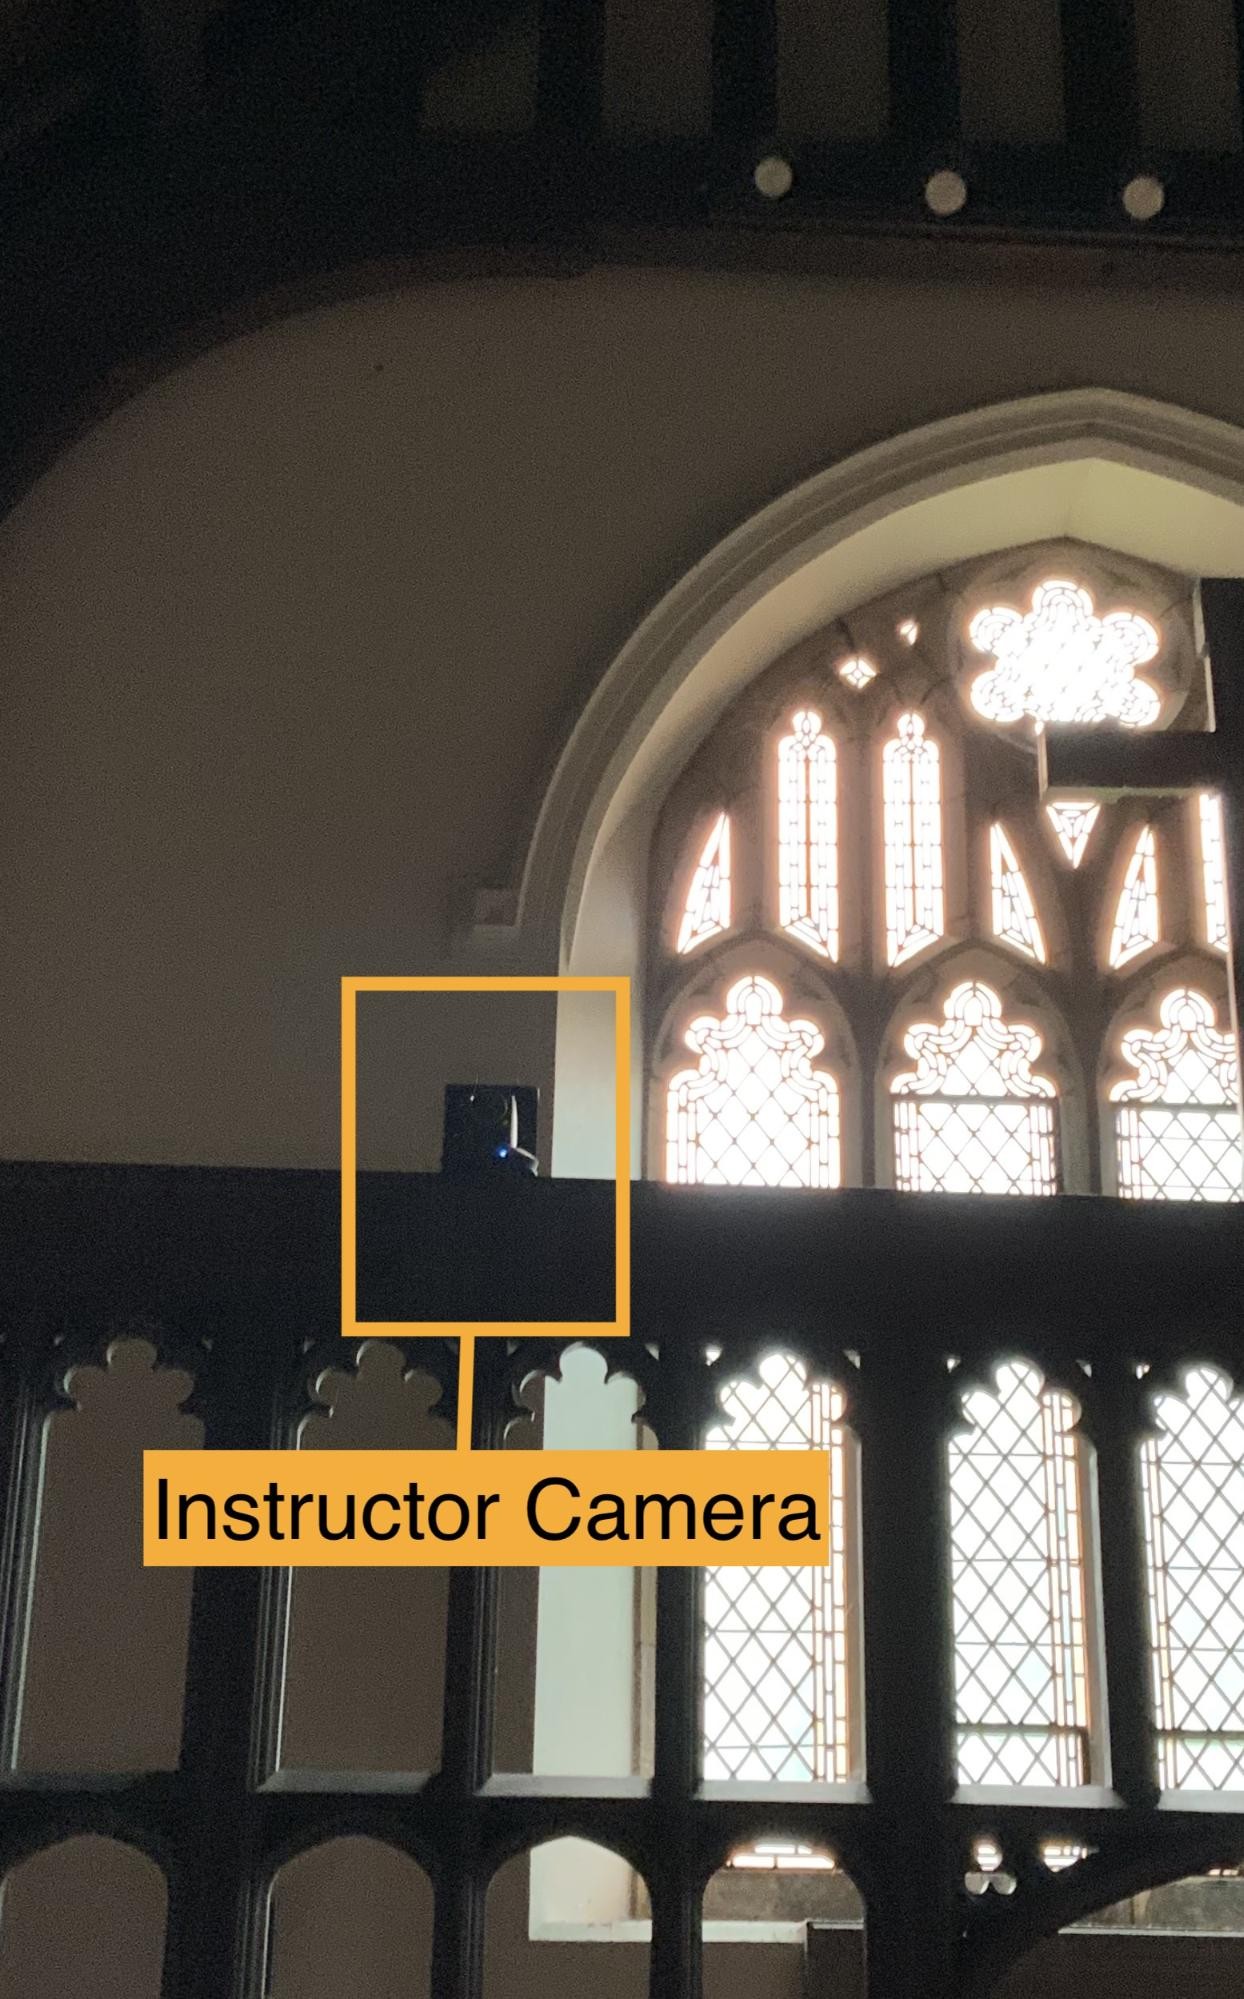
Generally, the Instructor Camera is located towards the back of the room. 
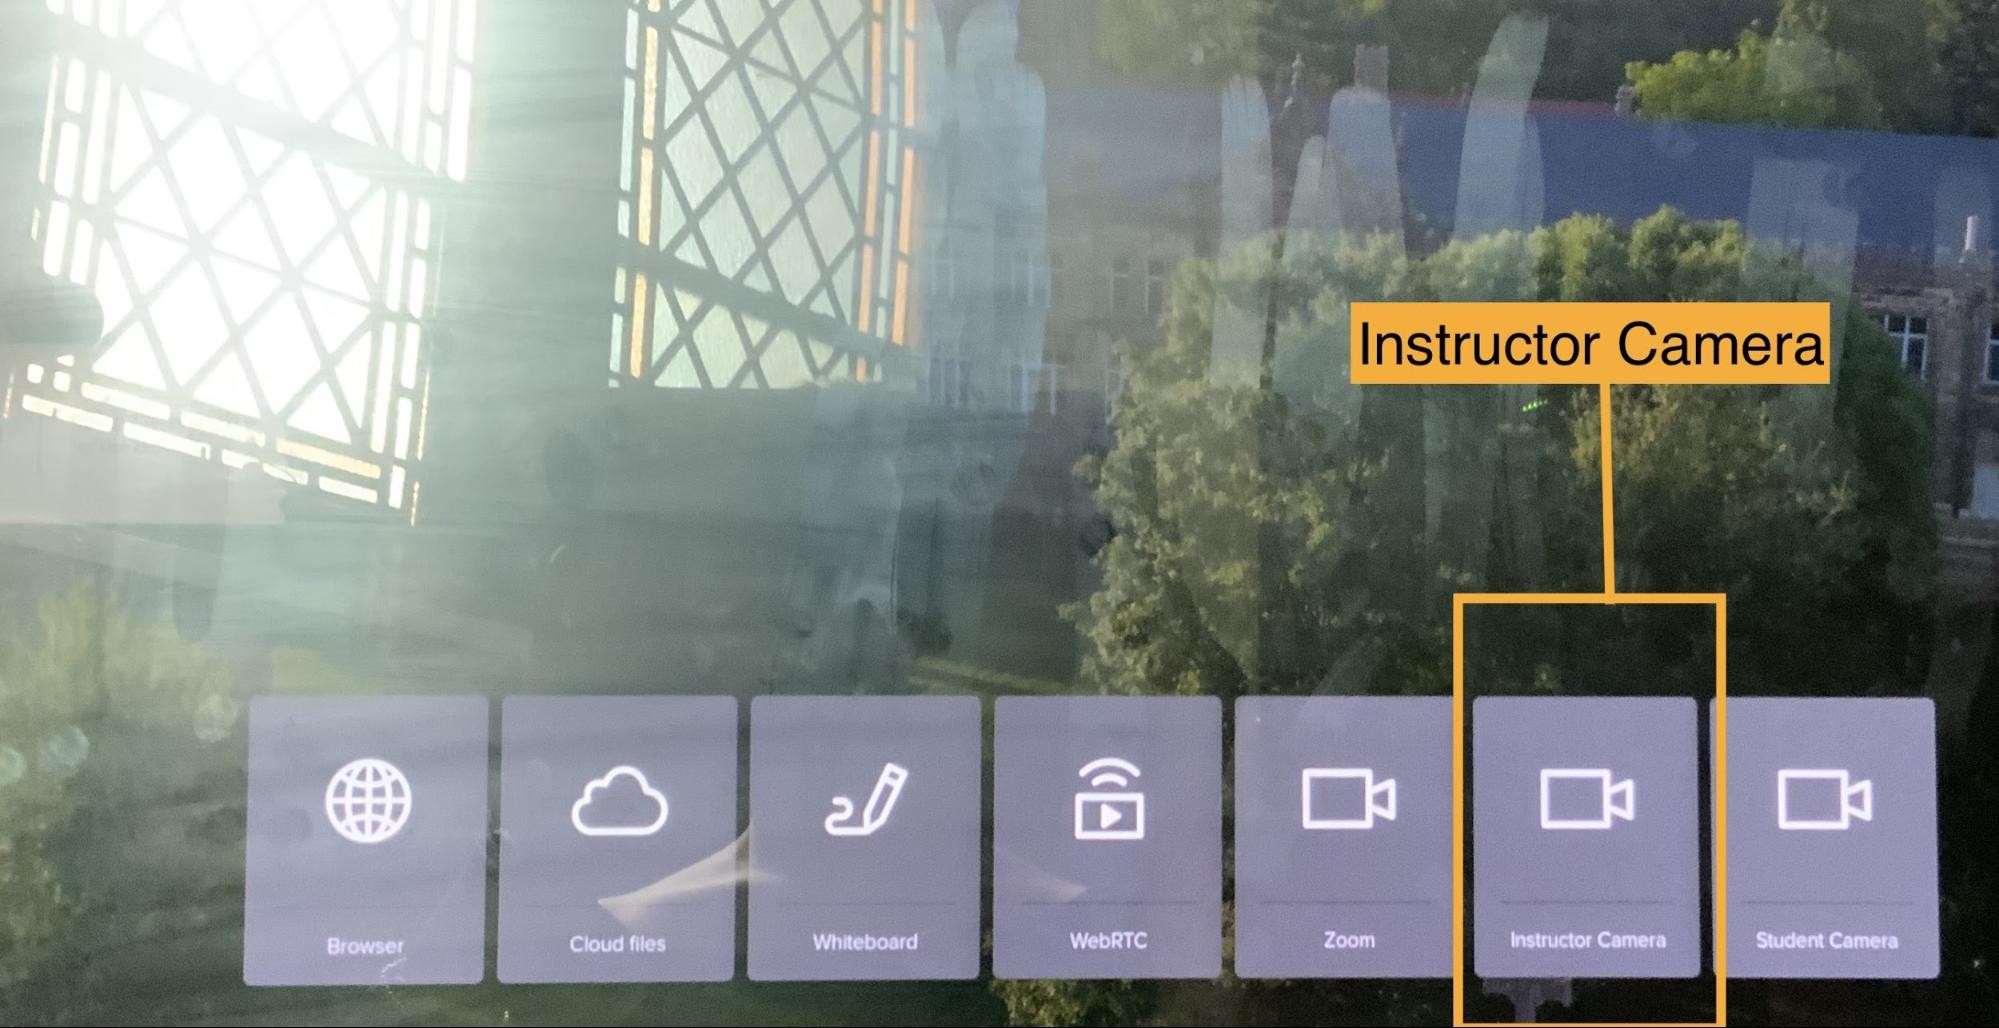
Tap anywhere on the CYNAP screen and a “Plus Sign” will appear at the base of the screen.
Tap the “Plus Sign” and a grey window will pop up at the base of the screen. 
Select the “Instructor Camera” section. If the Instructor Camera is already on, then it will not appear.
To adjust the Instructor Camera, use the CYNAP remote. This remote should be located on the podium.
Press the Tracking button, and the camera will follow you around the room. If the camera is tracking your movement, then a blue light will flash at the camera’s base. If the camera is not tracking your movement, then a blue light will be steady at the camera’s base. Each press starts/stops the tracking.
Press the Home button to zoom the camera out and to show the entire room. *If you are in Blackman, then the Home button will not show the entire room. To display the students, you must use the Student Camera.
Press P and then press 1 to angle the camera to show the teaching podium.
Press P and then press 2 to angle the camera to show the entire room.
To adjust the Instructor Camera’s angle manually, use the Camera Controls.
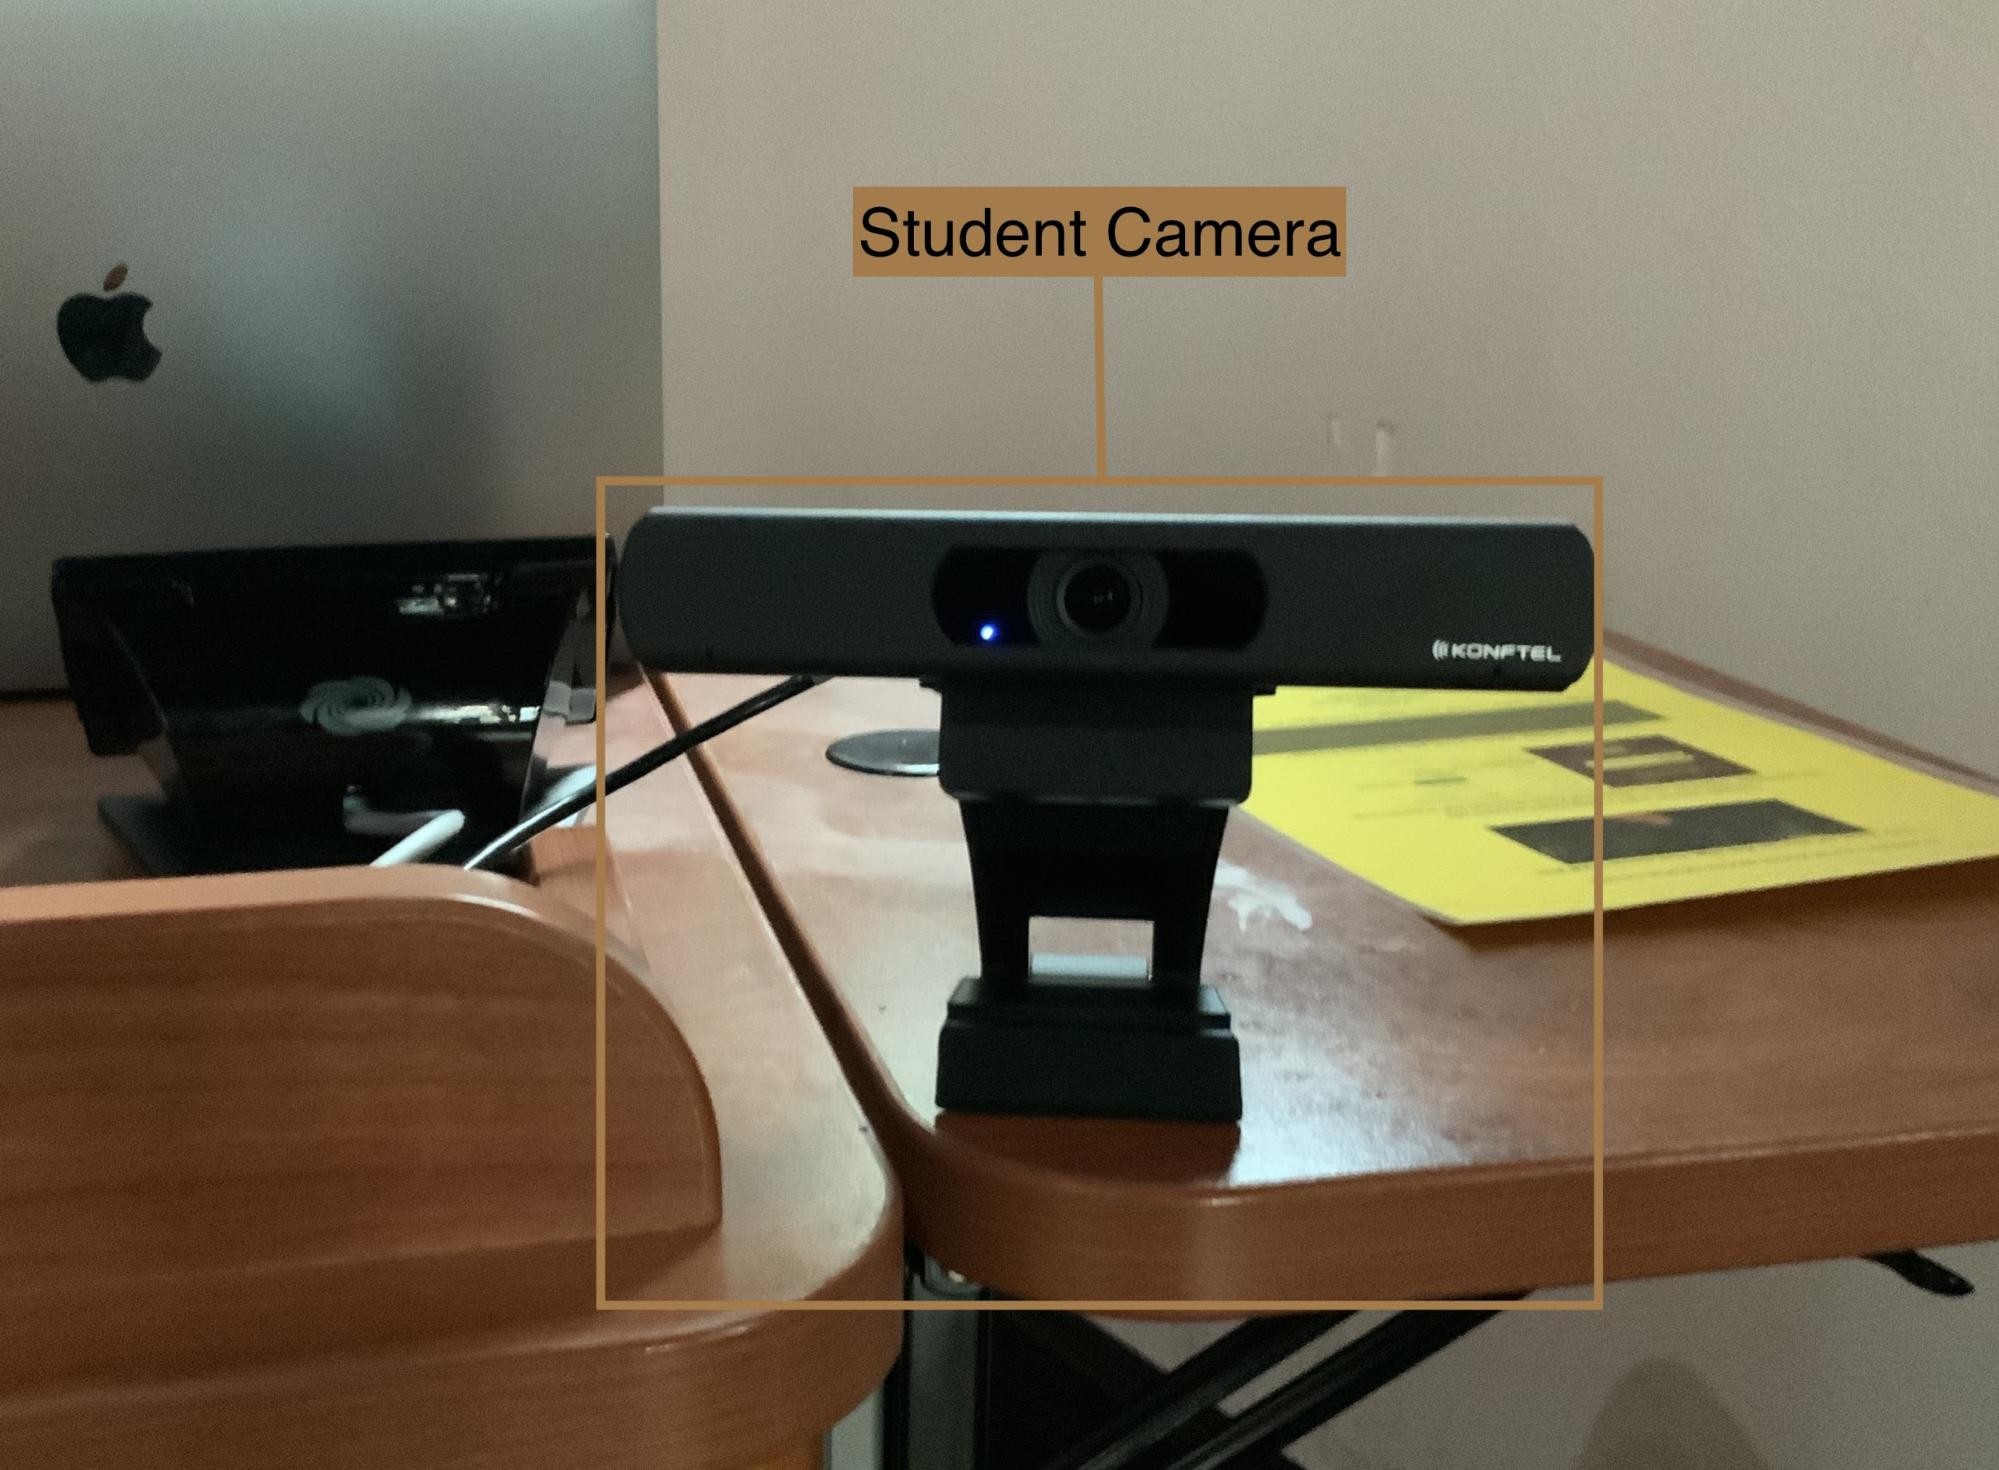
The Student Camera is located on the podium. 
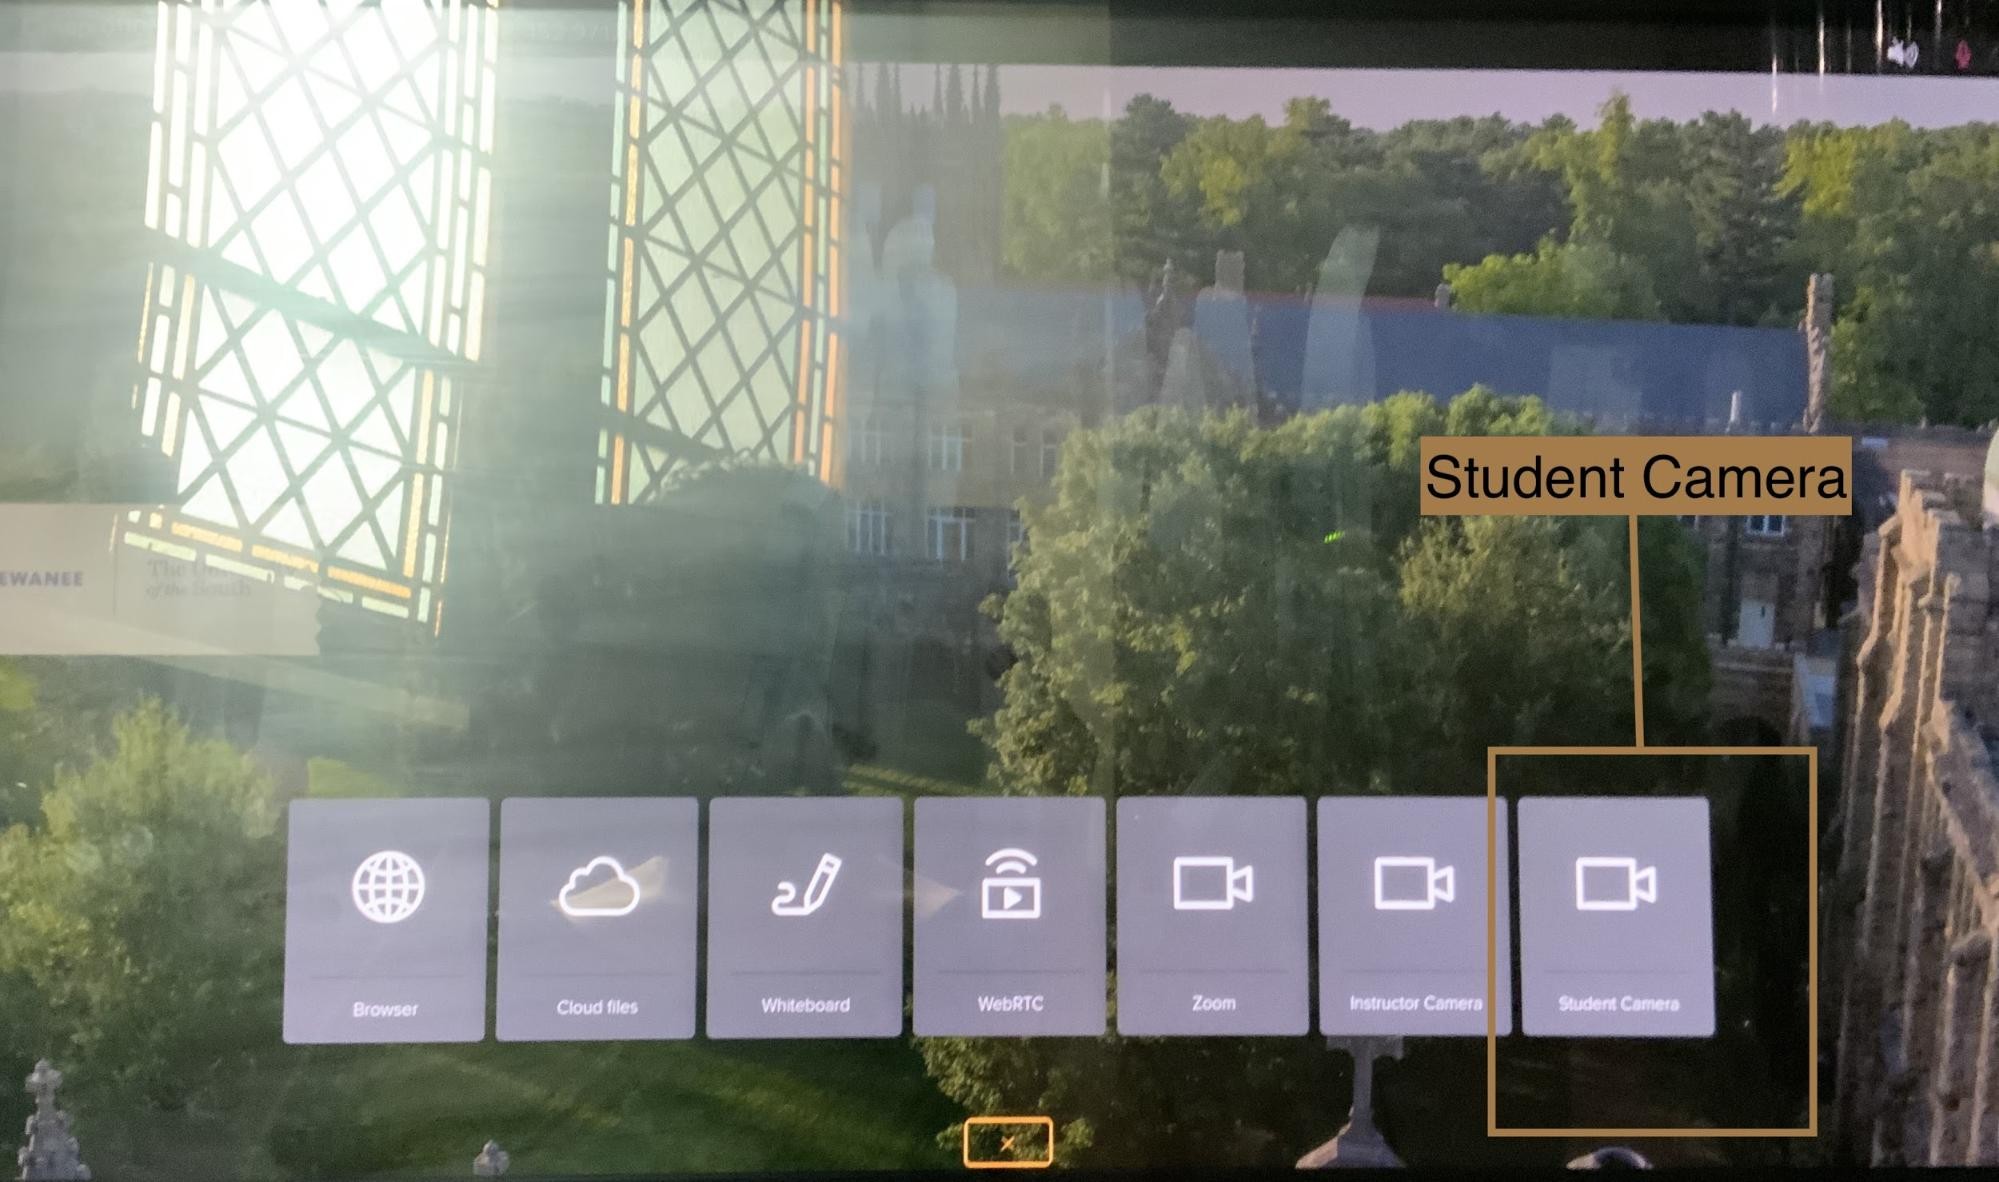
Tap anywhere on the CYNAP screen and a “Plus Sign” will appear at the base of the screen.
Tap the “Plus Sign” and a grey window will pop up at the base of the screen. 
To turn on the Student Camera, select the “Student Camera” section. *If the student camera is already on, then it will not appear.
If you have further questions, please reach out to a member of our faculty support staff for help, or send an email to: facultysupport@sewanee.edu.
A page listing the University's faculty support staff for further help.
A page listing all of Sewanee's CYNAP guides.