Editing Your Homepage
One of the first things that you'll want to do when setting up your course in Brightspace is to edit the default homepage that you're given.
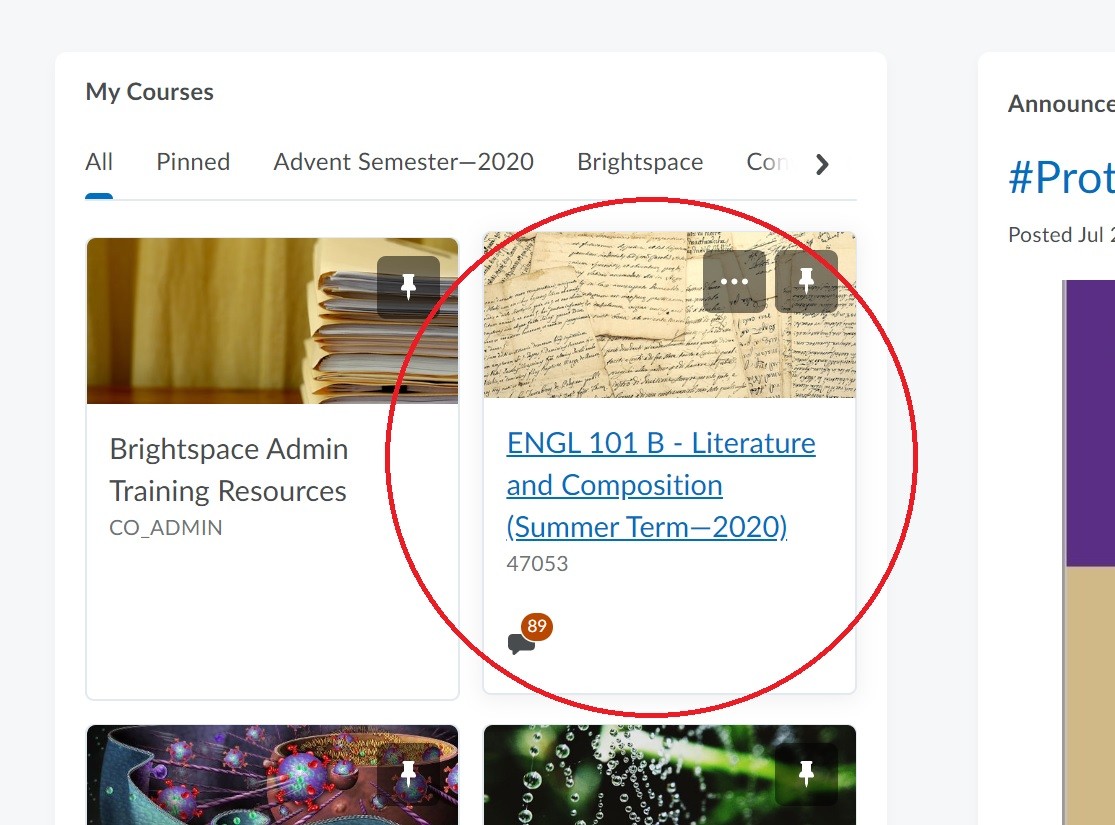
To do this, navigate to a course that your teaching from the organization homepage:
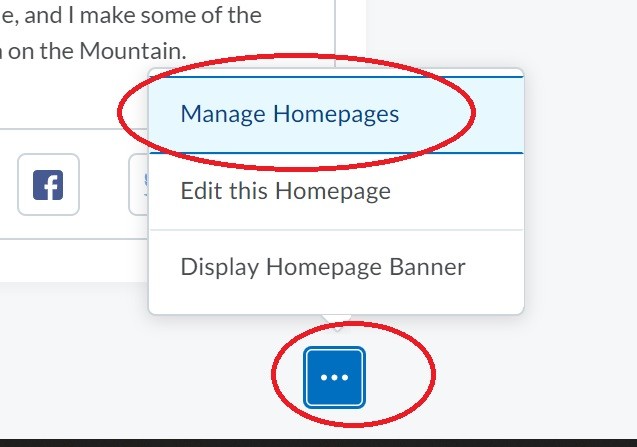
Once you're inside your course, scroll down the bottom right, click the three dots and then choose Manage Homepages:
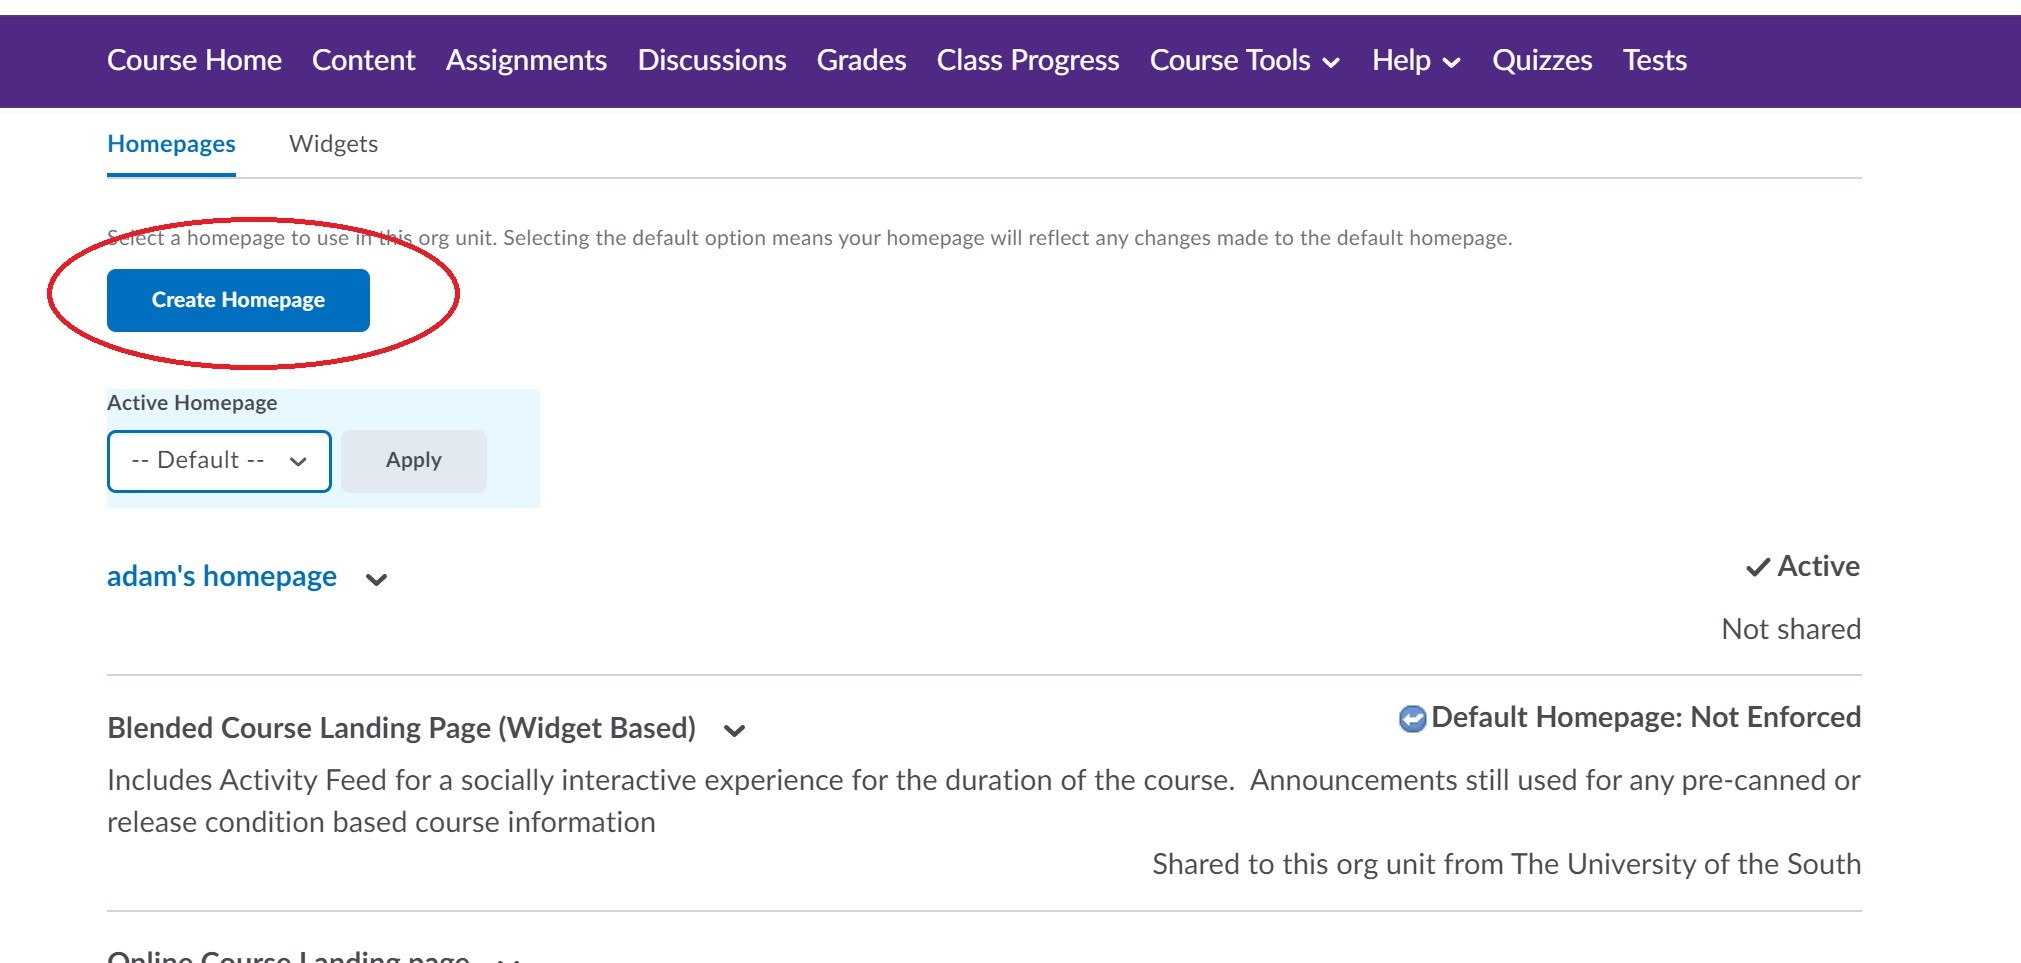
In this window, you'll notice that currently you are using the organization's default homepage. Since you can't edit this one (the default option), you'll have to Create your own homepage using the Create Homepage button:
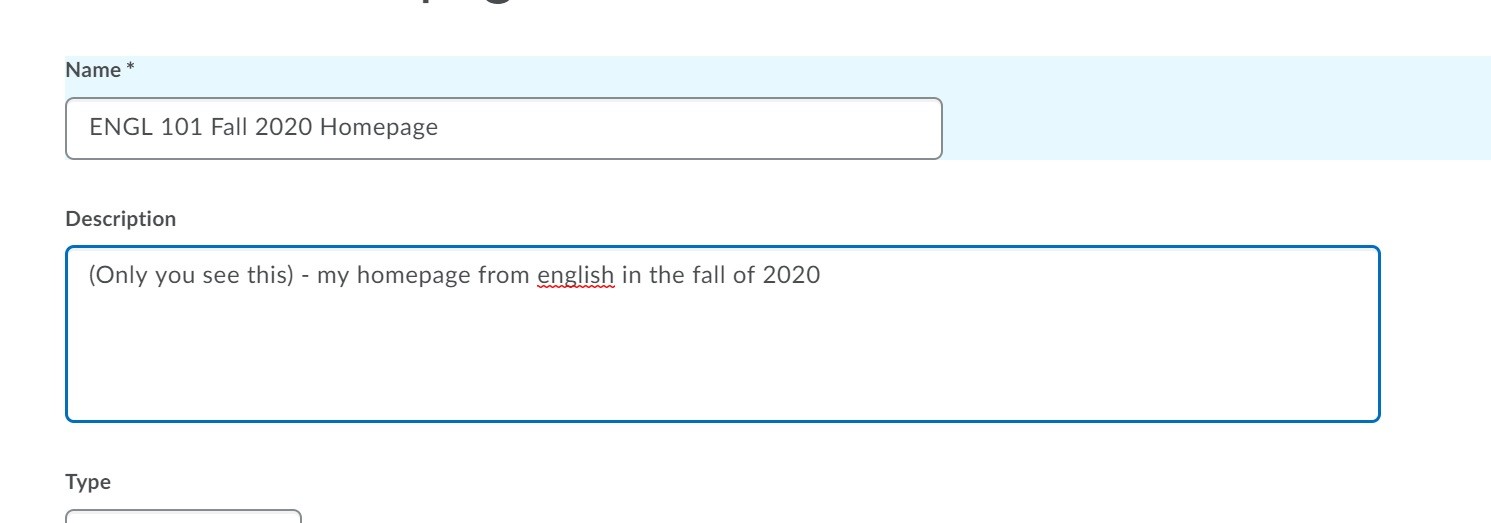
Once you've clicked that button, give your homepage a name and type a description of that page for yourself. Only you see the description, so you're essentially writing a note to yourself about what kind of homepage this is. The purpose of this function is to reuse your custom homepages later, either in other courses that you teach, or when you teach this same course in future semesters:
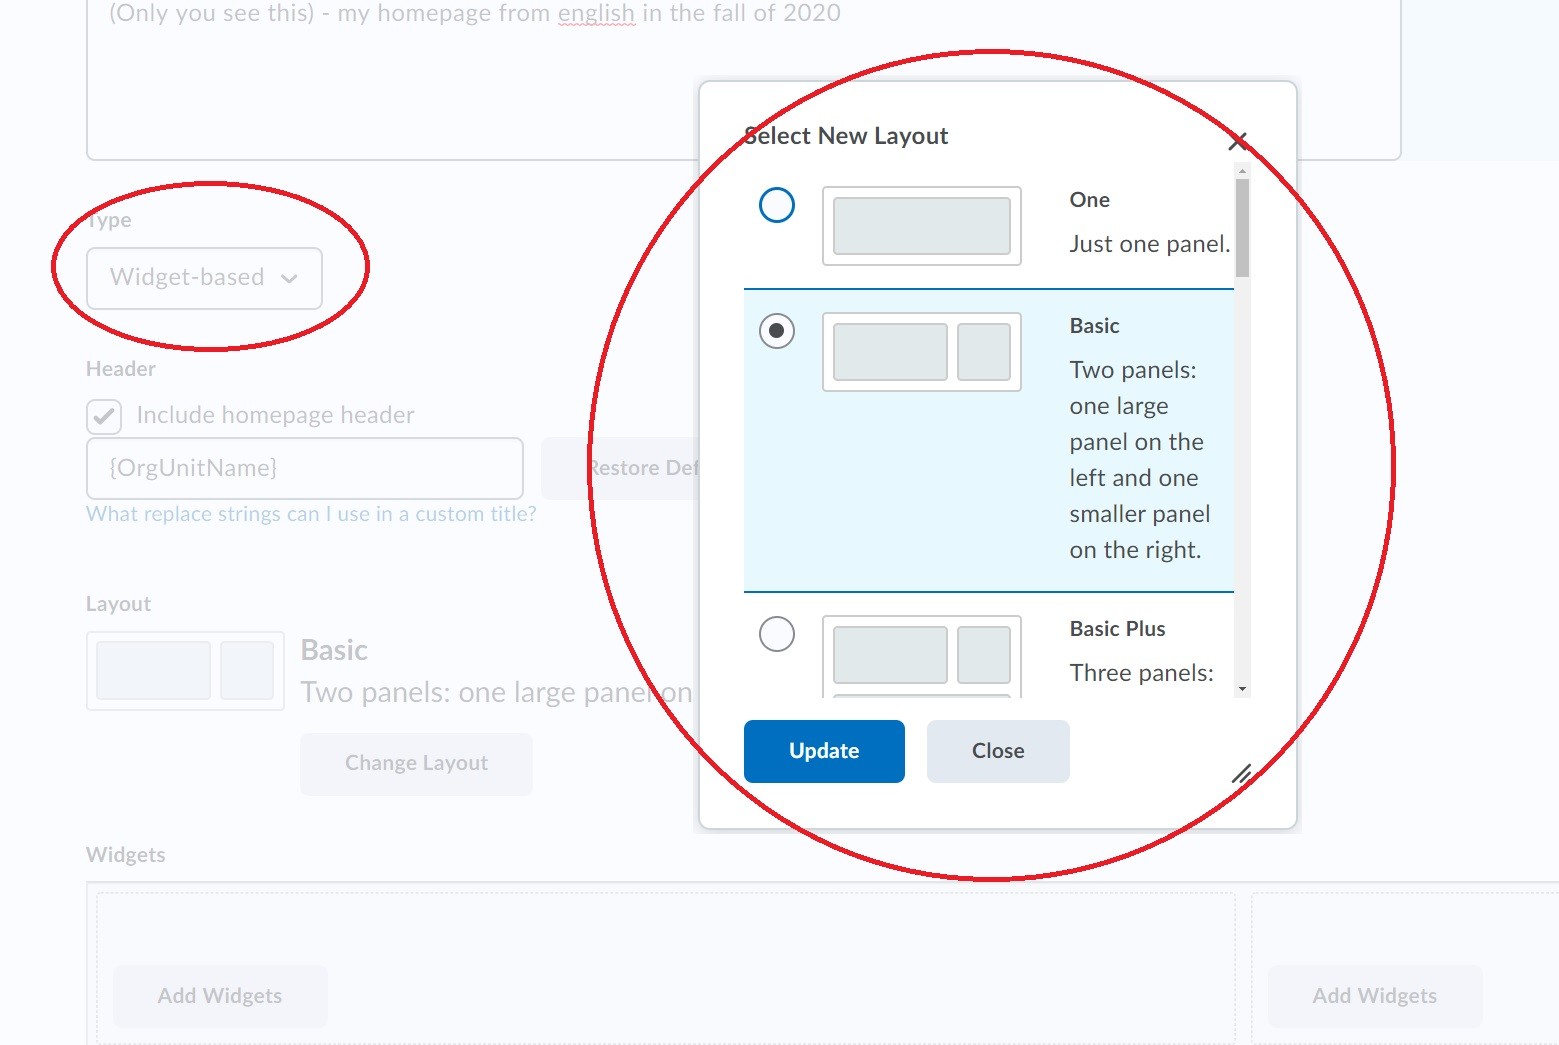
Next, make sure to choose widget-based for your homepage style, and then click on Change Layout to choose how you wish to arrange your "widget boxes." The most common one to use is "basic" which has one large panel on the left and one small panel on the right:
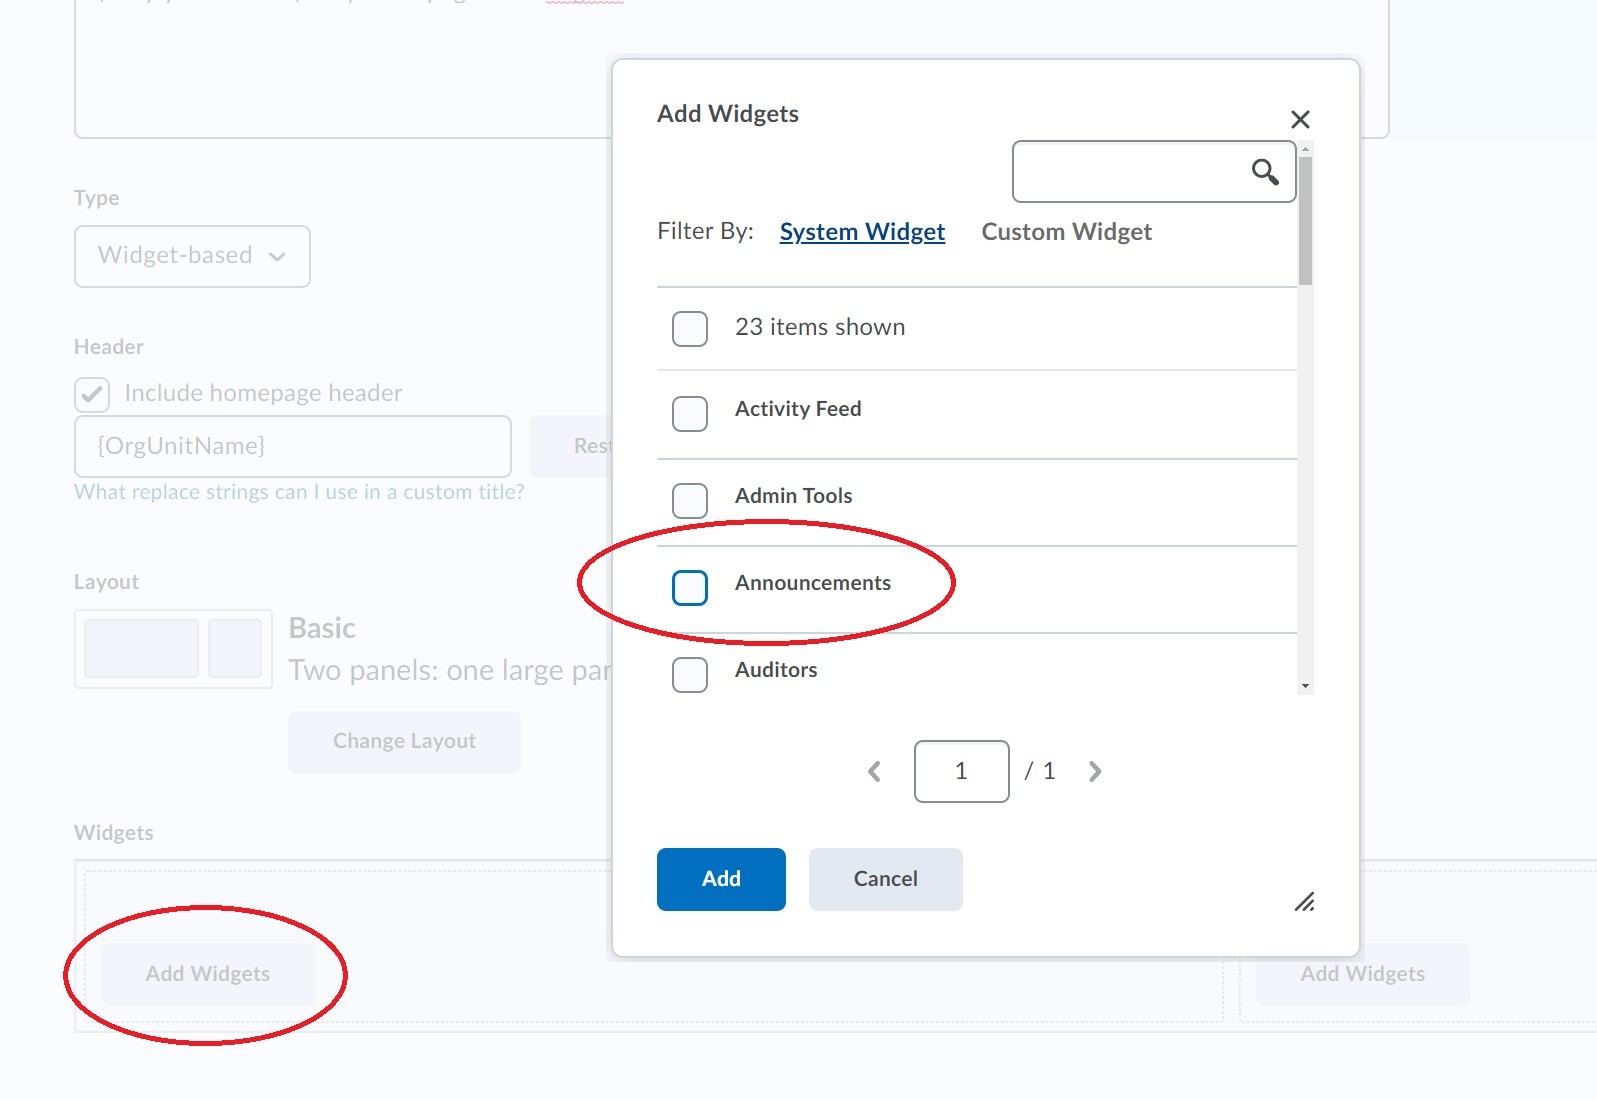
The last step is to choose which widgets are displayed on your course's homepage. After picking your layout, you'll see Add Widgets buttons in your columns. Click on this button and choose which widget you'd like to add in a particular column:
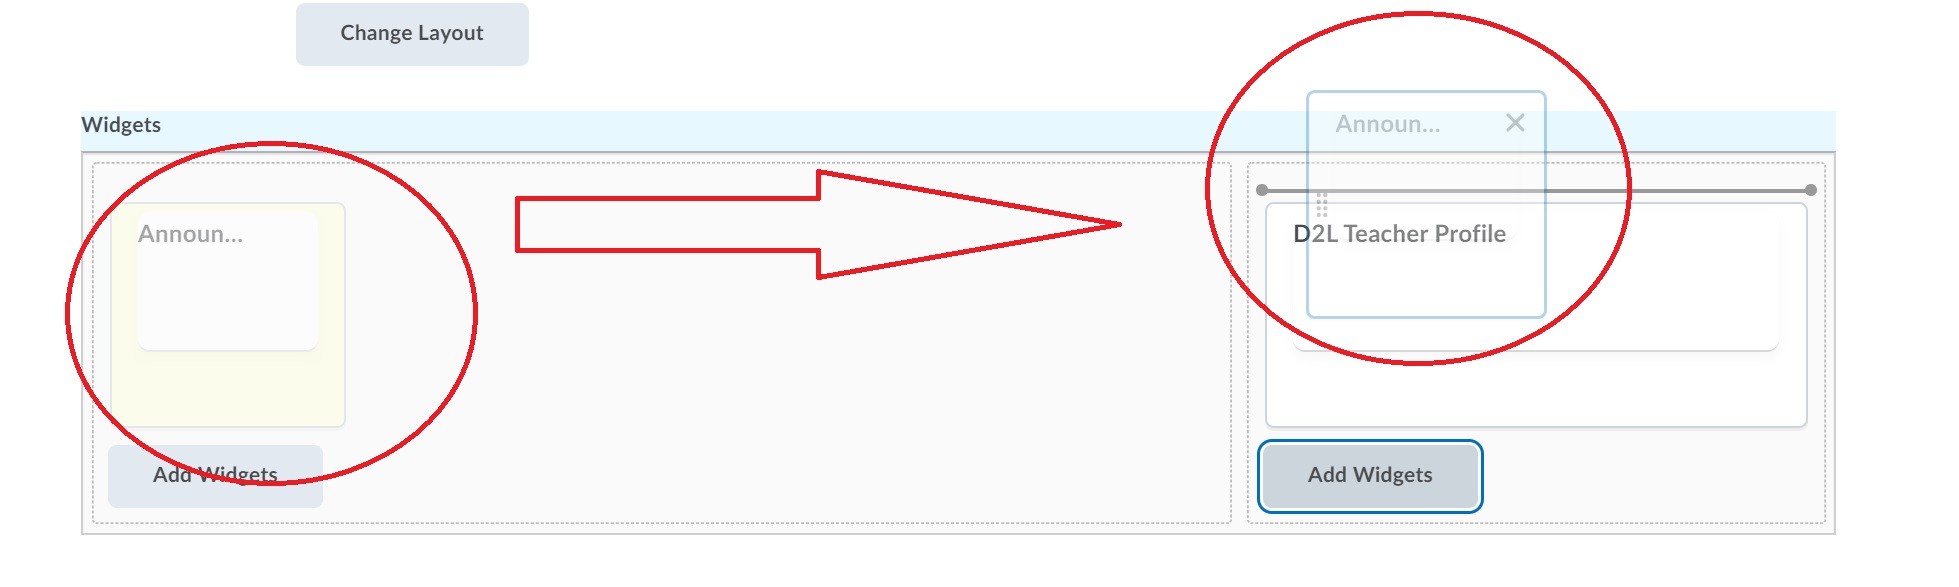
You can repeat this process for multiple widgets, and then rearrange them as you choose in the Widgets window at the bottom. Just click and drag on a particular widget to move it around your homepage:
When you are finished designing your homepage, be sure to click on the blue Save and Close button at the bottom of your screen.
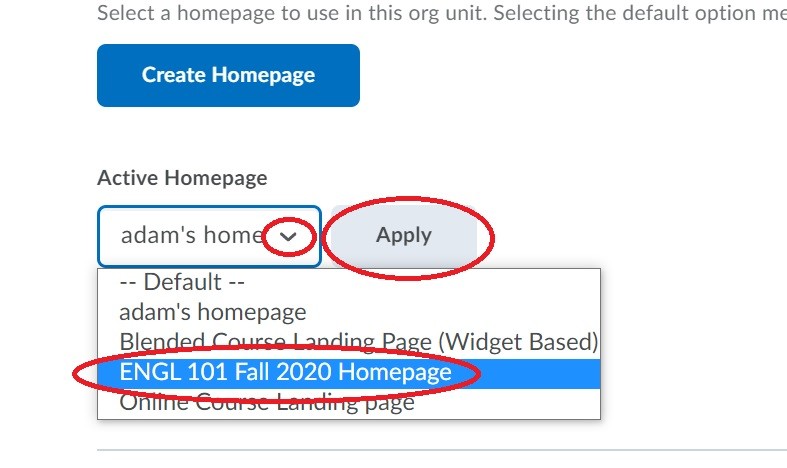
The last step is to make the homepage that you've just designed your active one. To do this, select your custom homepage from the drop down menu and click Apply:
Revisit your Course Home in the navigation bar to see what it looks like!
editing the navigation bar
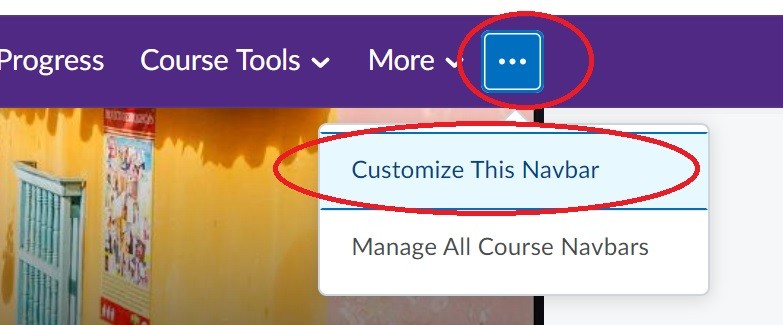
Similar to editing your homepage, you can also edit which options appear in your navigation bar in each of your courses. To start, hover your mouse over the navigation bar itself and click on the three dots. From there, choose Customize this Navbar:
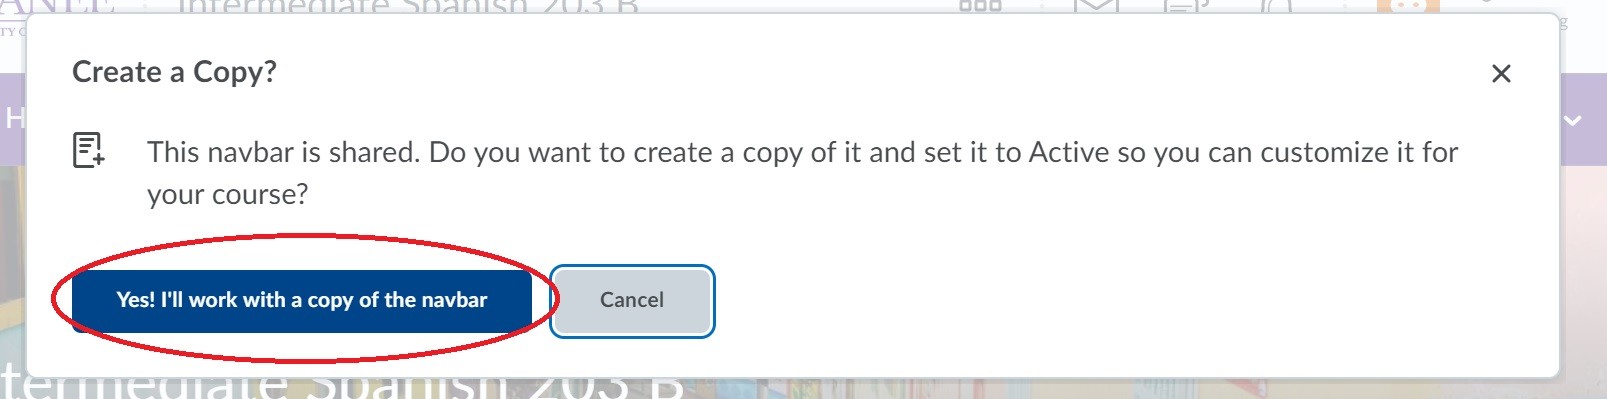
Since you can't edit the organization default navbar, you'll be prompted to copy this default navbar and then customize your own version of it from there:
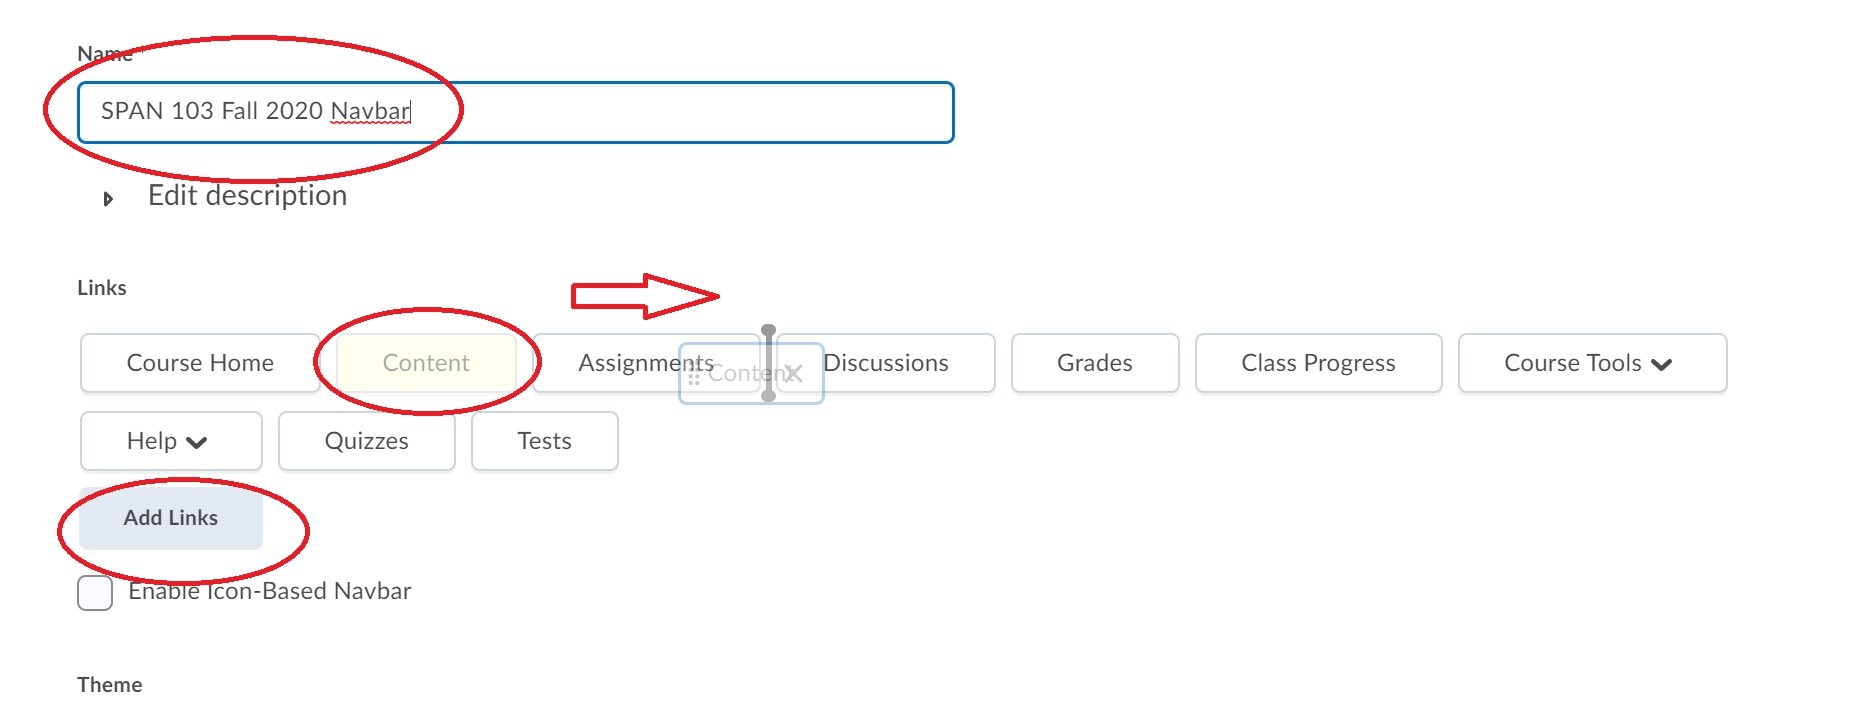
The next screen allows you to name your own customized navbar (so you can reuse it in later courses or semesters). In addition, you can Add Links, delete navbar buttons by hovering your mouse over them and clicking the "X", or move navigation button placement by clicking and dragging on each box:
When you're finished, make sure to click on the blue Save and Close button at the bottom of your screen.
student view
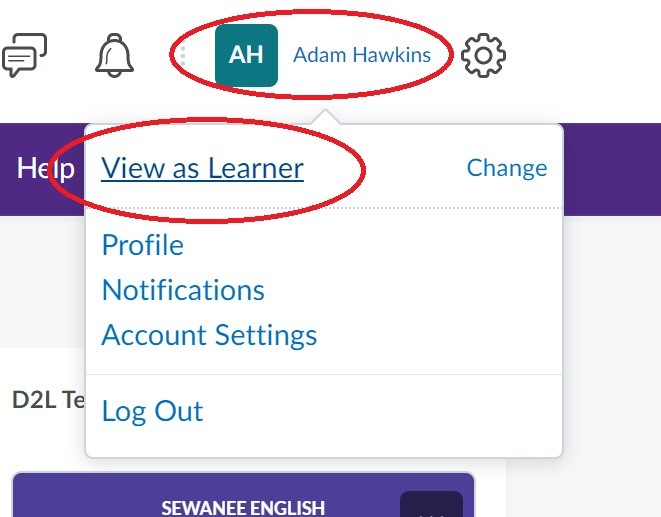
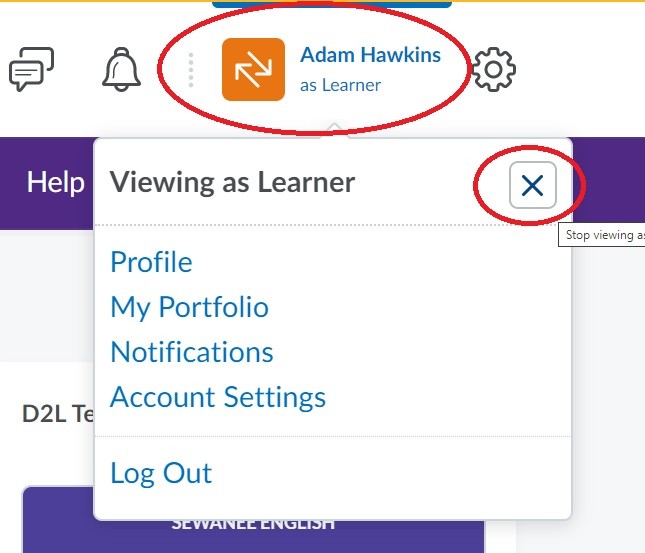
As you design and upload content to your Brightspace course, you likely will want to know what things look like from your students' point of view. To do this, simply click on your own name in the top right corner of your Brightspace window, then choose View as Learner:
You can choose this option to view your own Brightspace content as a student at any time. When you're finished seeing pages from the student side, click on your own name again and click on the "X" to go back to your regular view:
Questions about Homepages and Navbars?
Contact a member of our faculty support staff.