Help Desk
Contact the Help Desk with technology questions and assistance.
The University of the South uses the Zoom videoconferencing platform for virtual classes, meetings, organizations, and just about every other virtual meeting you may want to attend or schedule here on campus.
To get started, on your computer make sure to install the Zoom application:
1. Visit http://www.zoom.us
2. Locate the Resources section in the top right and click on Download Zoom Client:
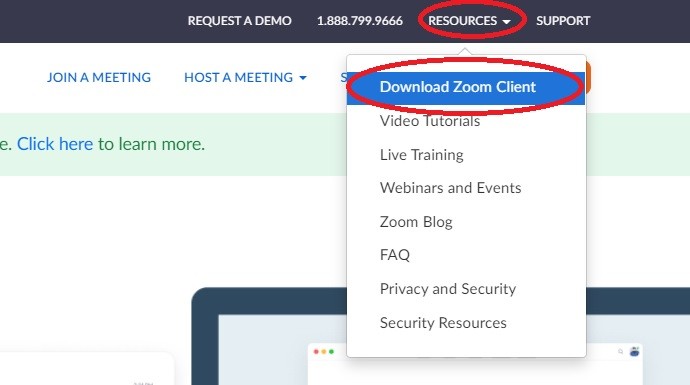
3. Click on the top option to download the Zoom Client for Meetings:
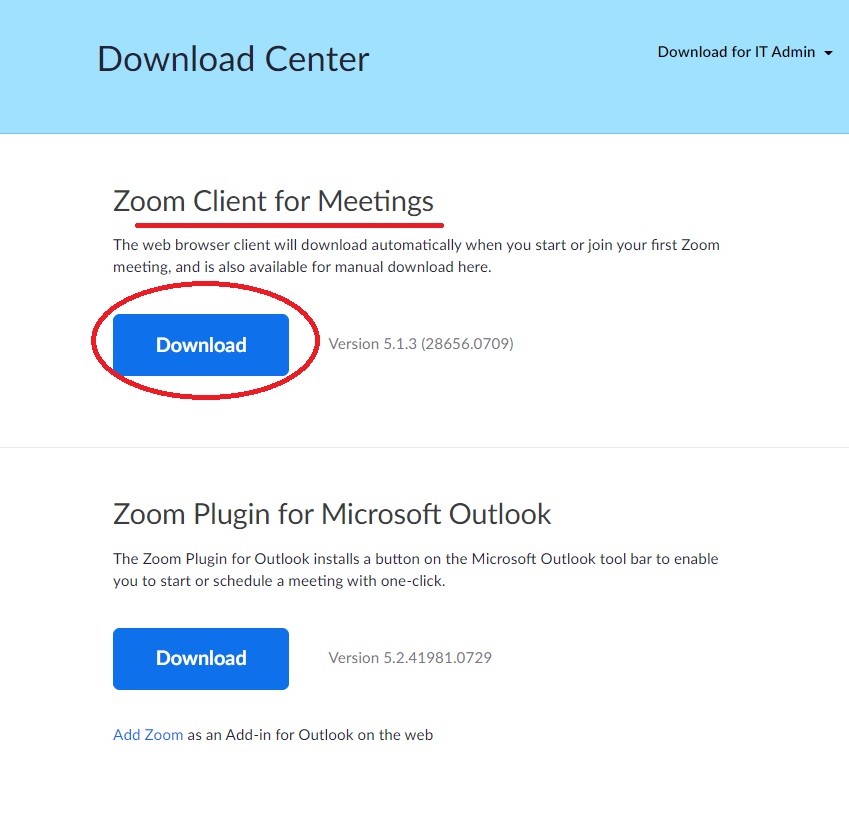
4. Follow the prompts to install the application on your machine.
*Tip: If you're using Windows, create a desktop shortcut to easily launch the application. If you're using the MAC OS, drag the Zoom application from your Applications folder to your dock to easily launch the application.
1. Visit http://www.zoom.us
2. Click on the Sign In button at the top right of your browser window: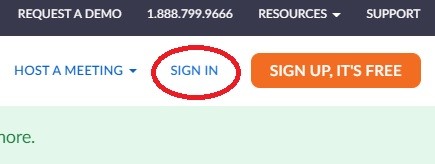
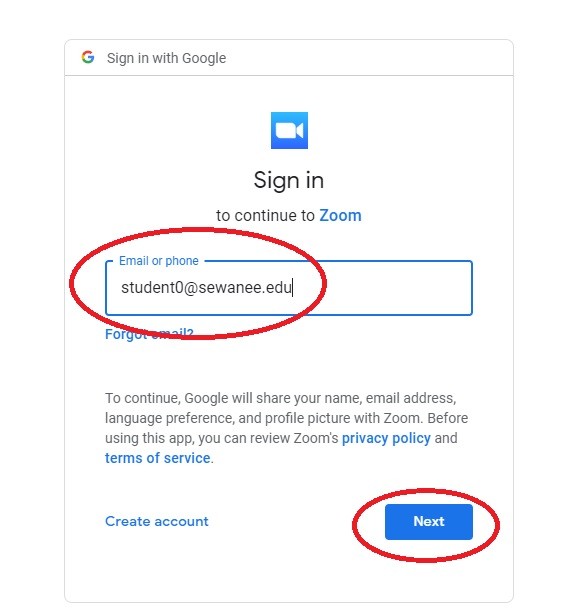
3. Don't enter your email/password in the boxes. Instead, use the Login with Google button underneath:
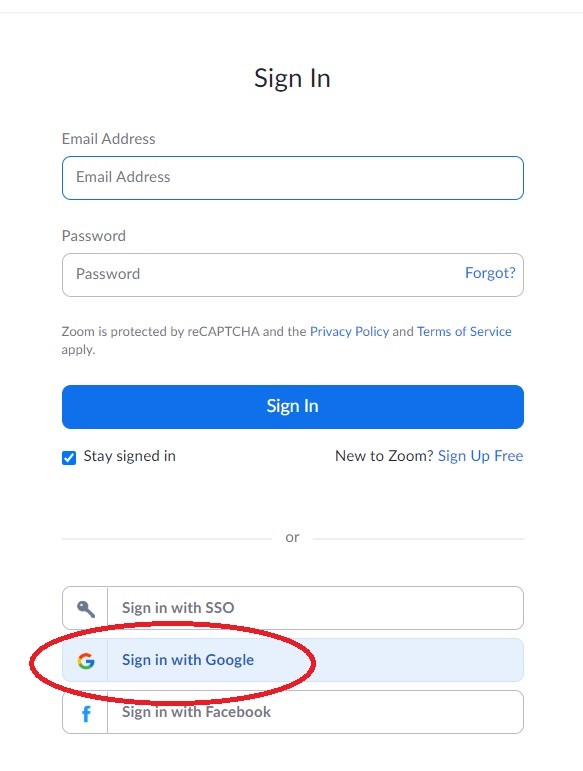
4. Enter your full email address when prompted in your browser, followed by your SSO password for your University account:
5. Once you've signed in, use the Profile tab on the left column to edit your picture, view your personal meeting ID (and generate a custom link for it) and set time zone information for your current location.
*Tip: Do not try to reset your password on the Zoom website. This password is tied to your SSO, G-Suite, University account. If you need to change your password, do it from the password reset portal in Banner.
1. Visit http://www.zoom.us and login to the website (see above)
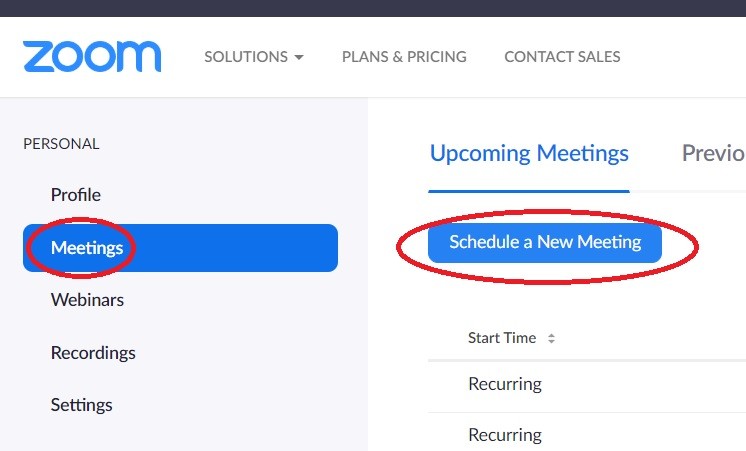
2. Use the Meetings tab on the left hand side to see your currently scheduled meetings. Use the blue Schedule a New Meeting option to create/host your own!
3. Make sure to enter a Topic (or title) for your meeting and pick a start date/time and a duration. If you'd like to make a permanent meeting link for any purpose (say, a regular virtual meeting of a student organization) use the Recurrence - No Fixed Time option:
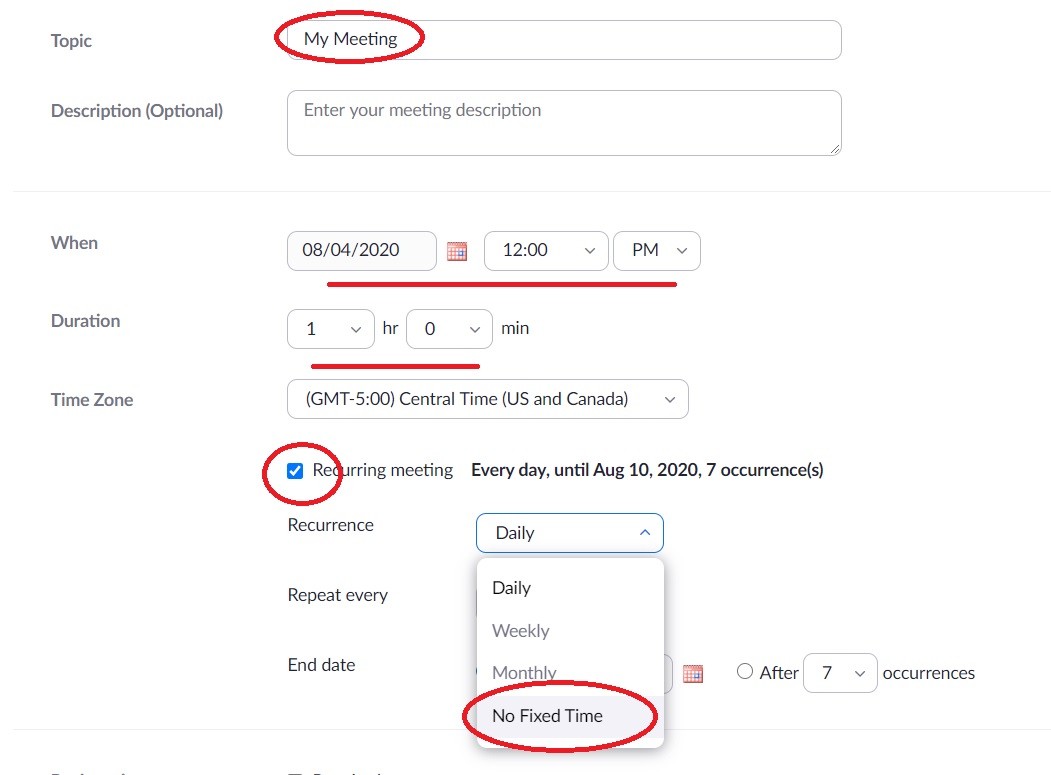
This No Fixed Time option will generate a persistent link that you can use for multiple meetings.
4. Click on the blue Save button to complete your meeting creation. You'll then be shown a meeting details screen, where you can copy/share the link and/or invitation: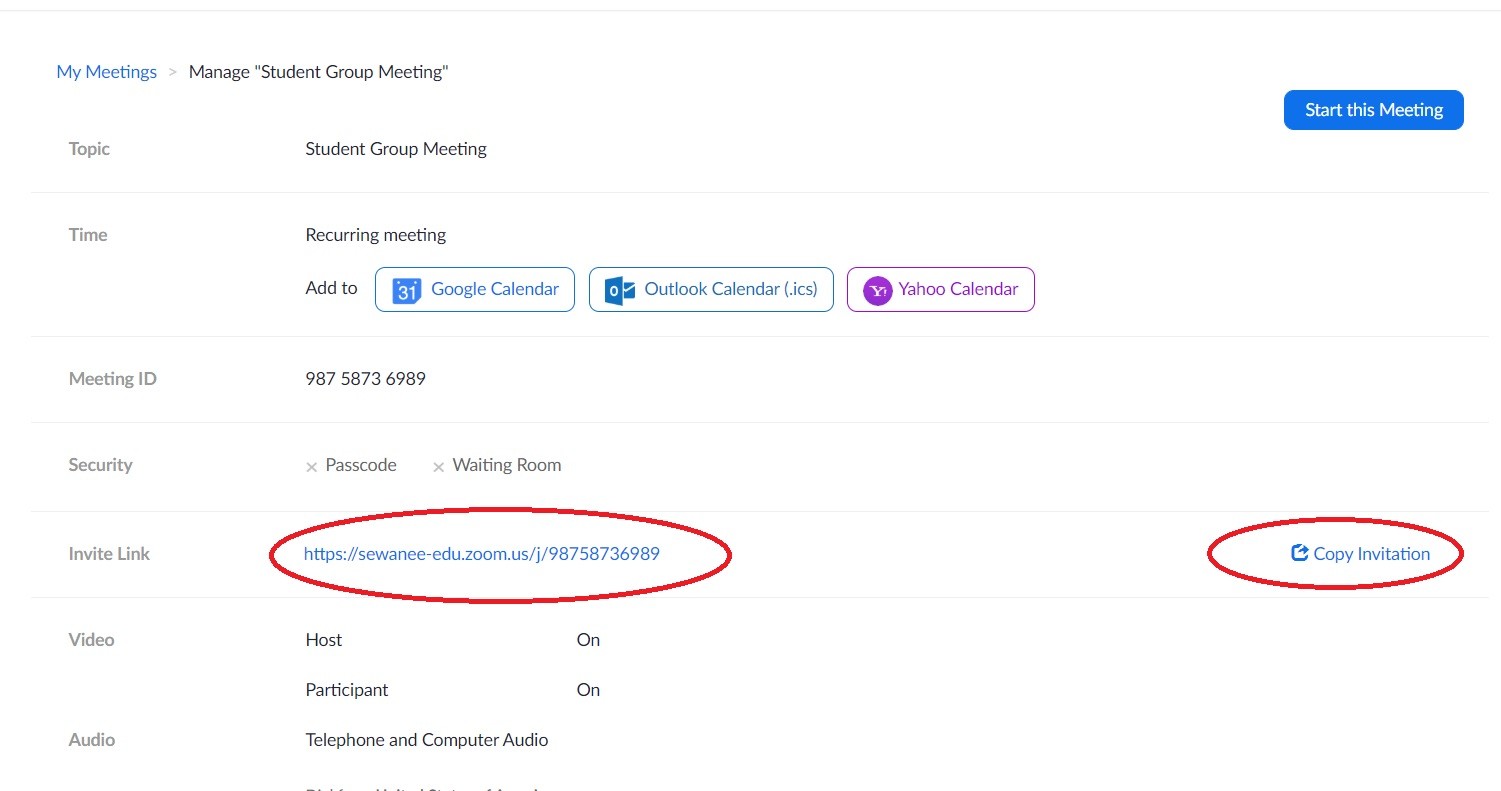
*Tip: Be careful about how you share your meeting links and whom you share them with. Always use the waiting room feature when in an active meeting.
As a student at Sewanee, you can also create Zoom links directly in Google Calendar with our G-Suite-Zoom integration.
1. Navigate to Google calendar: http://calendar.google.com
2. Sign in with your SSO/Banner credentials using your full Sewanee email address.
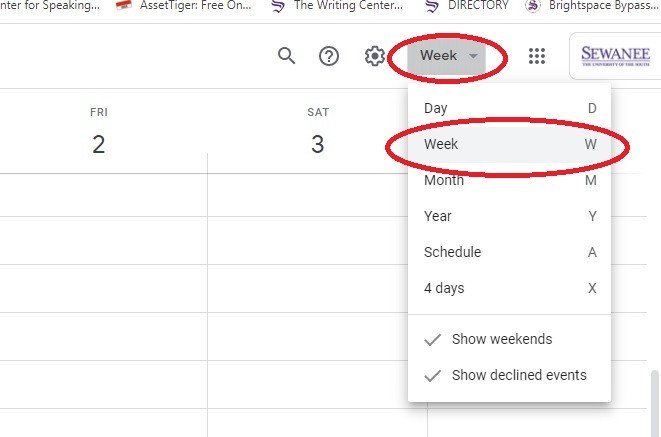
3. From the calendar page, for your convenience, use the weekly view for planning:
4. Use the arrows in the top left to browse by week, then pick a date to schedule your meeting. Using the times as your guide on the left hand side, either click once or click and drag to block out some time and create a meeting. Then, use the more options button to set specific meeting details:
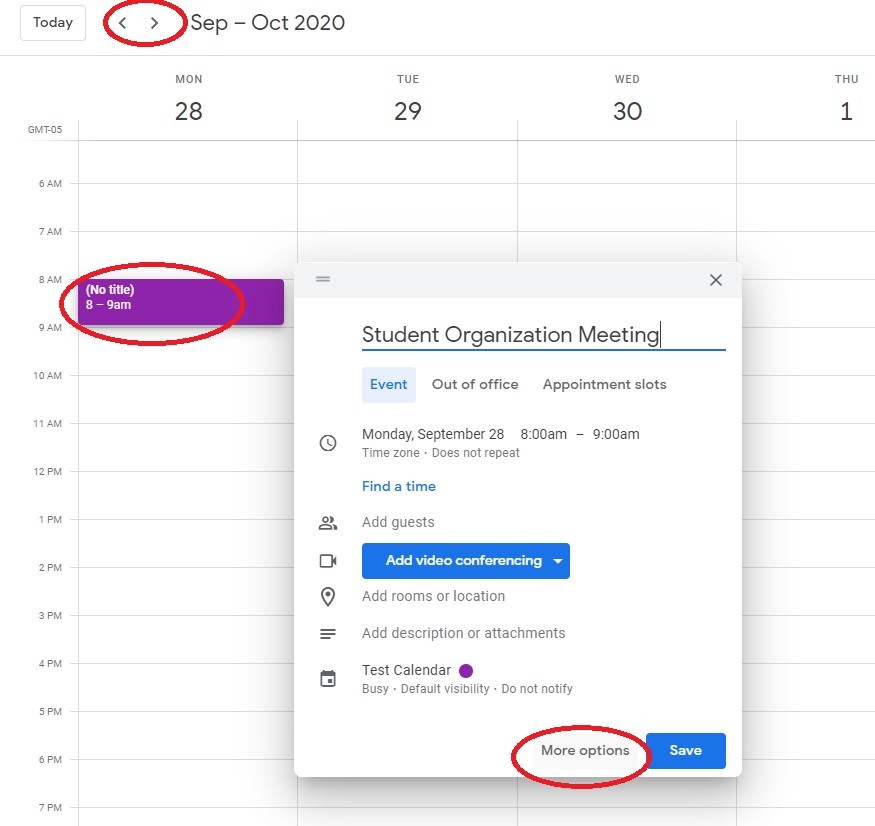
5. Use the add video conferencing to generate a Zoom link for your meeting. Since you are logged in with your G-Suite account (which is also your Zoom account), this will appear as a scheduled meeting on the Zoom website as well.
Finalize your meeting details by inviting specific guests (or google groups) and then make sure to hit the blue Save button in the top right.

Those whom you've invited will have a Zoom link directly attached to your calendar invitation!
Contact the Help Desk with technology questions and assistance.
Watch video tutorials from Zoom on using meeting controls, breakout rooms, and other features in the software.