Get Started:
As a faculty or staff member here at the University, you have the ability to install or reconnect your office printer(s) to any of your devices that you use for University business. Below are the steps to complete this process for both MAC and PC users.
Find your campus printer IP Address:
To complete this process, you will need to know the IP address of your office printer on campus. Using the internal document below, find your Printer's IP address and copy/paste (or write down) this address before attempting to install your printer:
CAMPUS PRINTER IP LIST
printer drivers
If you are unable to find your printer in this list, please contact our Help Desk for assistance,
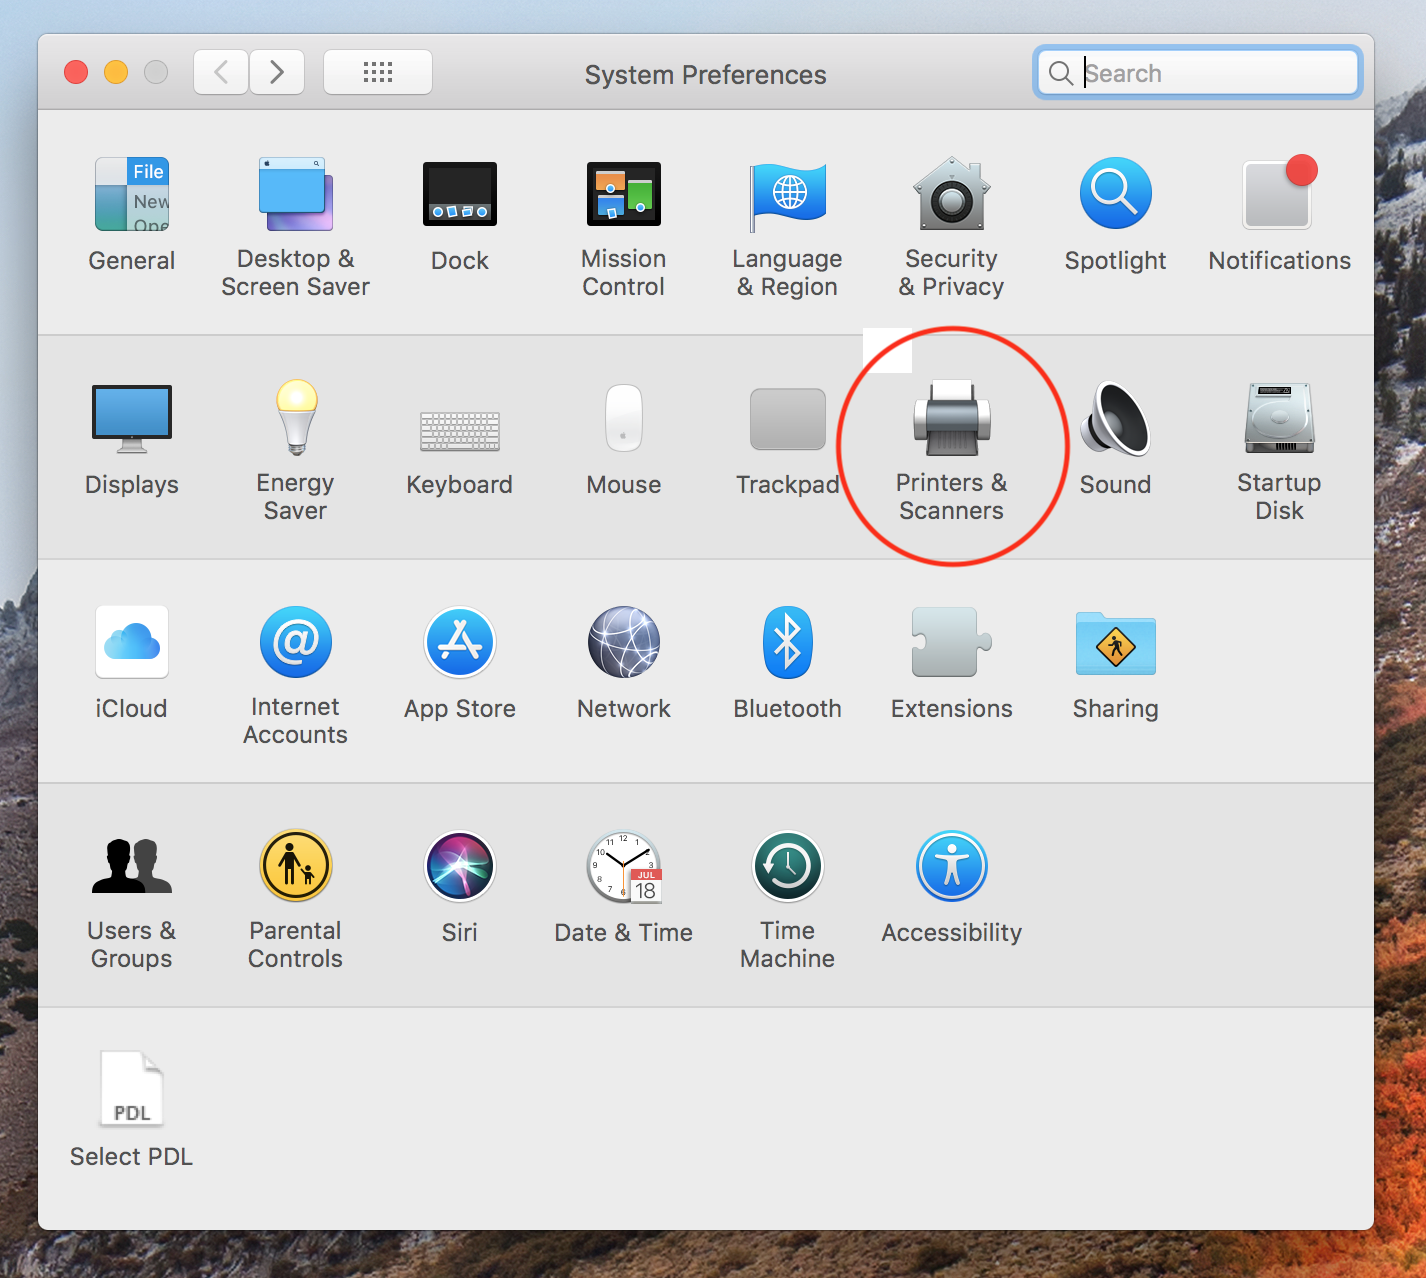
mac users
1. Open System Preferences and find the Printers & Scanners option on your mac:
2. Once in the printer/scanners menu, press the 'plus' sign (+) to add a new printer:
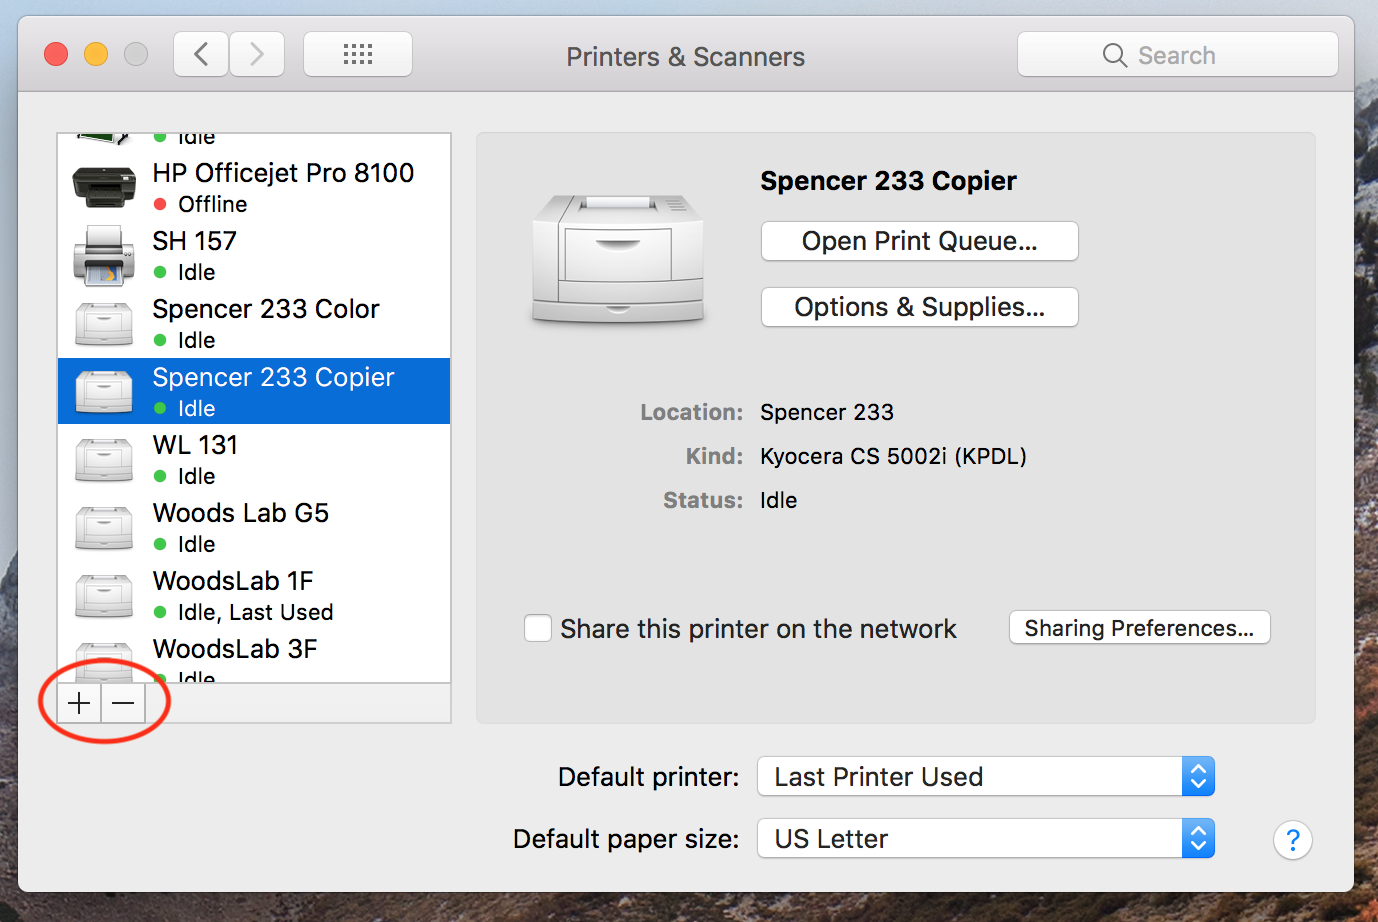
**Note: While in this window, be sure to review all of the printers installed on your device. If you see a printer installed that you are no longer using, using the minus sign (-) to get rid of it.
3. After hitting the plus sign, choose IP at the top, and type in the IP address. (See document referenced at the top of this page).
For protocol, choose Line Printer Daemon - LPD
For the Name - make sure to name the printer that is something easily recognized by you:
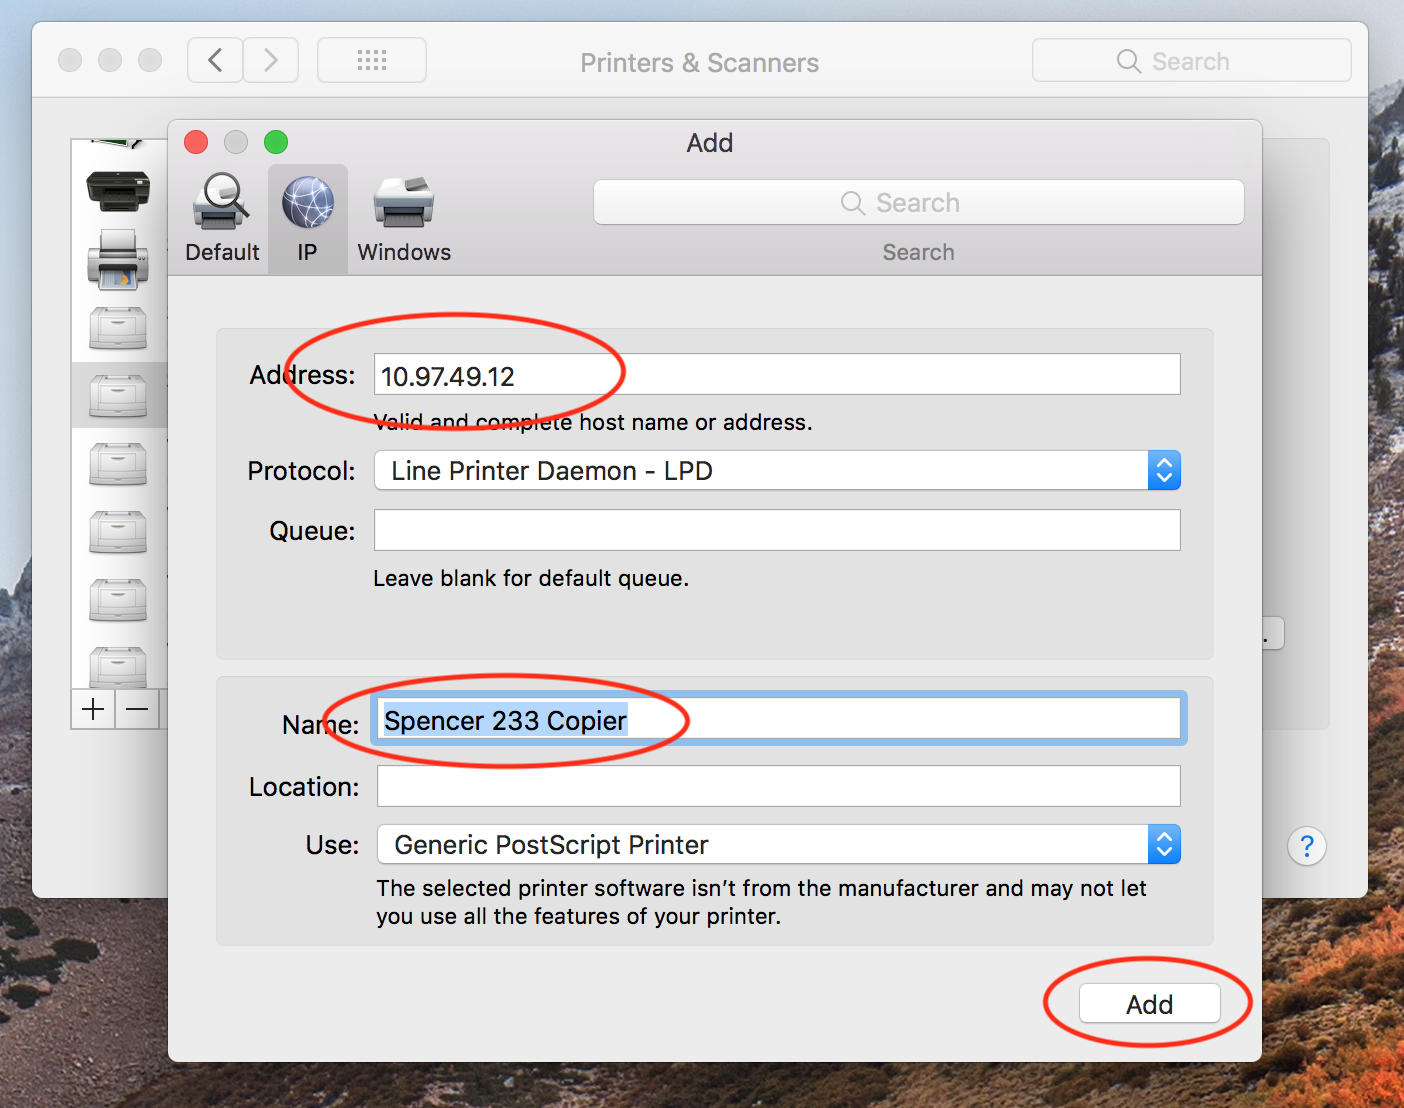
**Note: If you are connected to EDUROAM then your device will automatically recognize and install the correct drive in the "use" menu.
Finally, hit the ADD button, and your new printers will be installed!
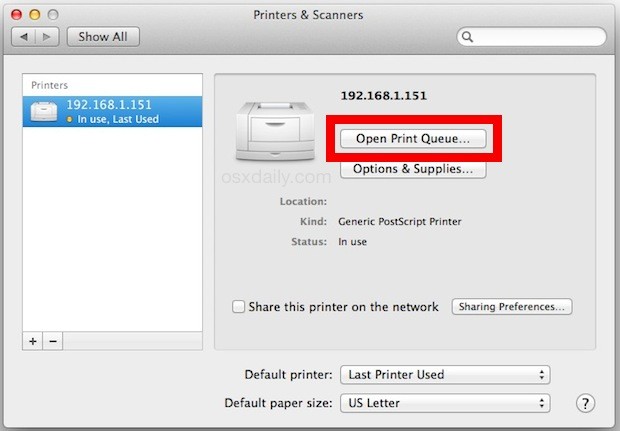
You can use the Print Queue to print a test page on your newly installed printer:
windows/pc users
1. Navigate to Settings from your Windows/Start menu: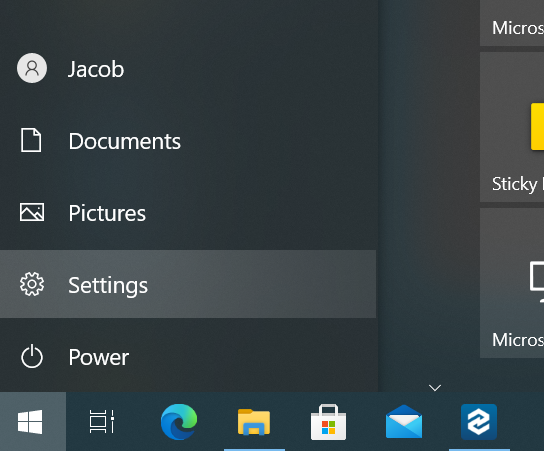
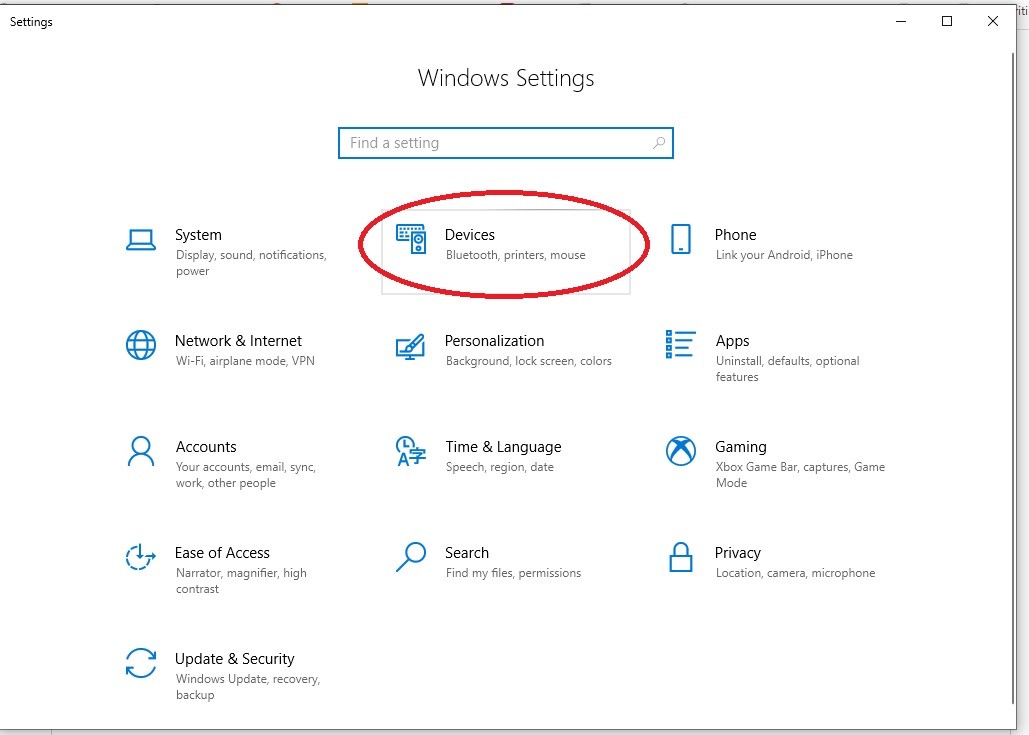
2. Find the Devices menu:
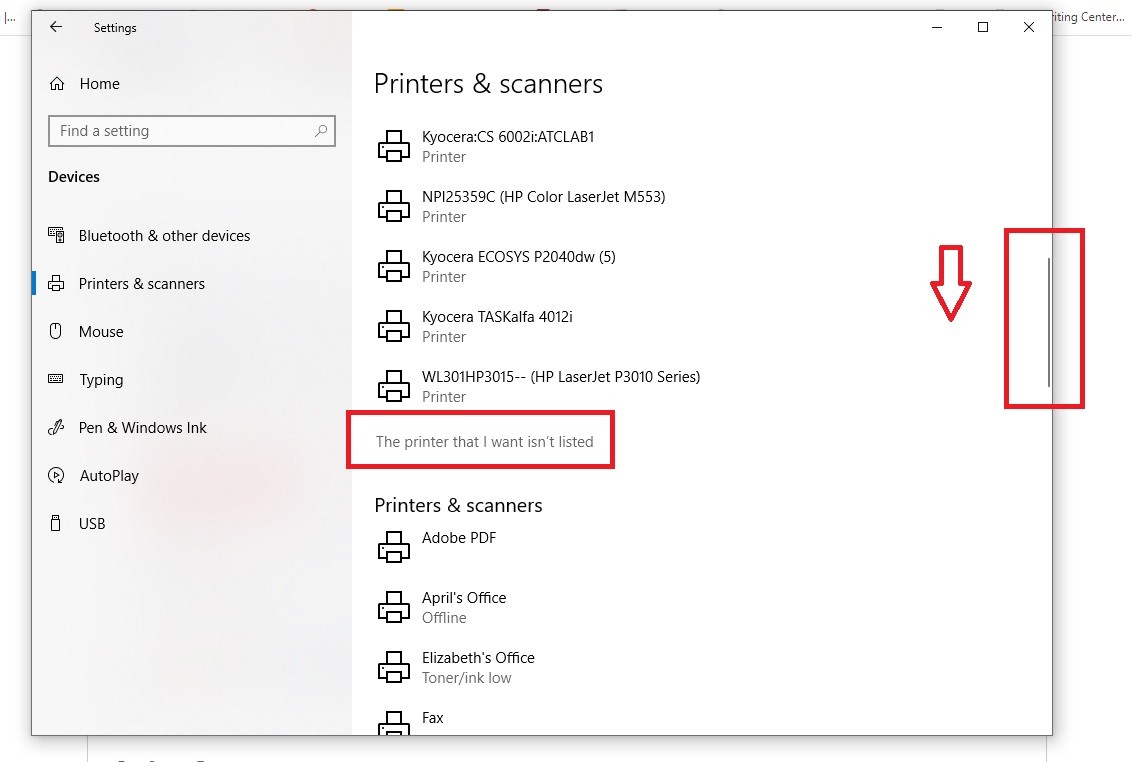
3. From the Devices menu, choose Add a printer or scanner

4. As the list populated, scroll down and look for the option that says the printer that I want isn't listed:
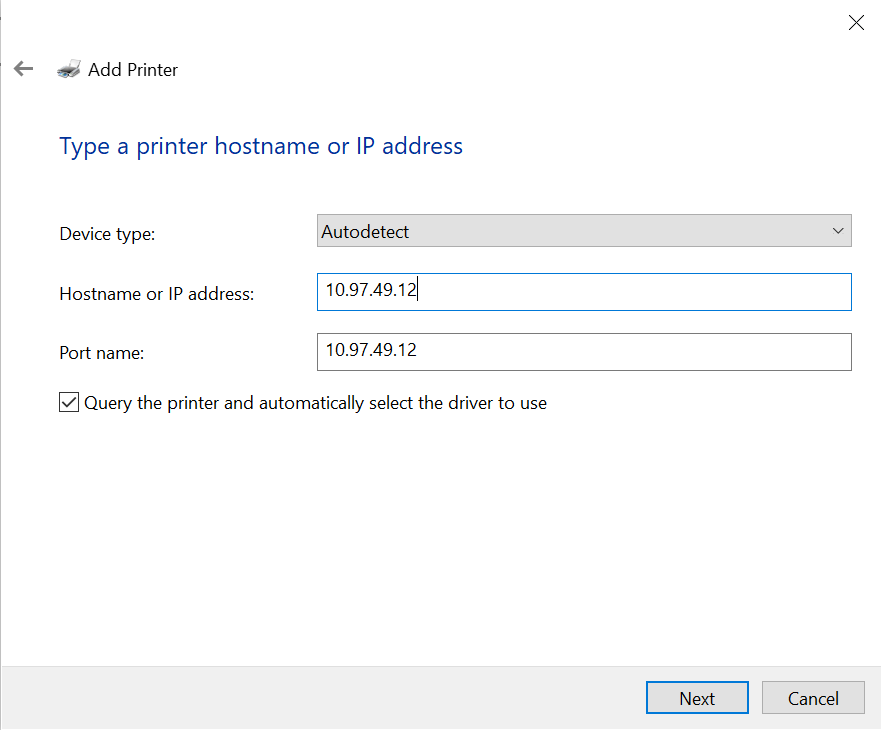
5. From this window, choose the Add a printer using a TCP/IP address or hostname:
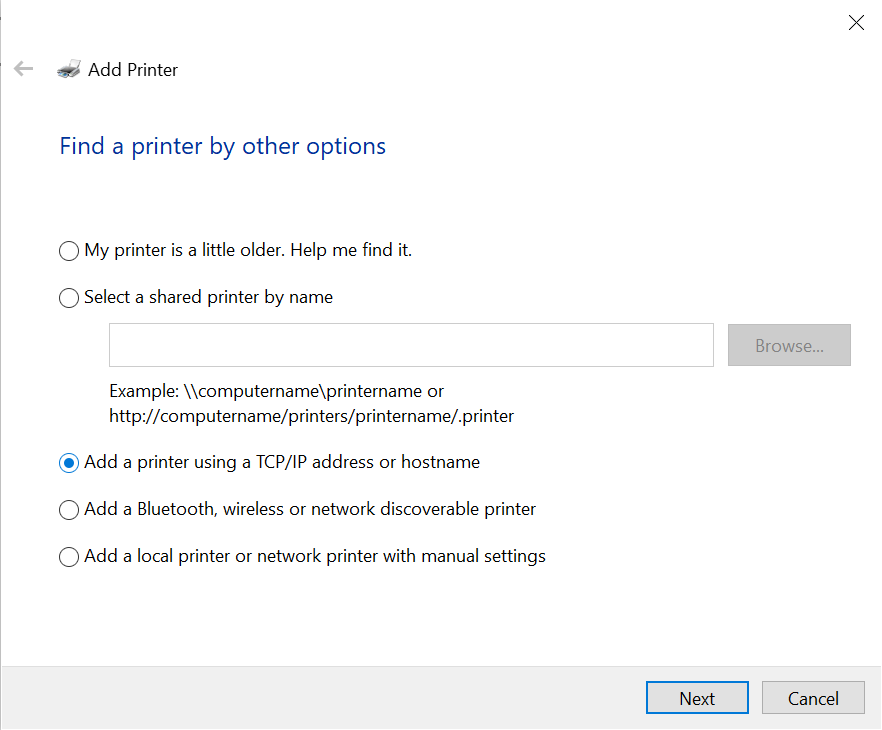
6. In the next menu, enter the new IP address of the printer to add (see document above). Then hit next:
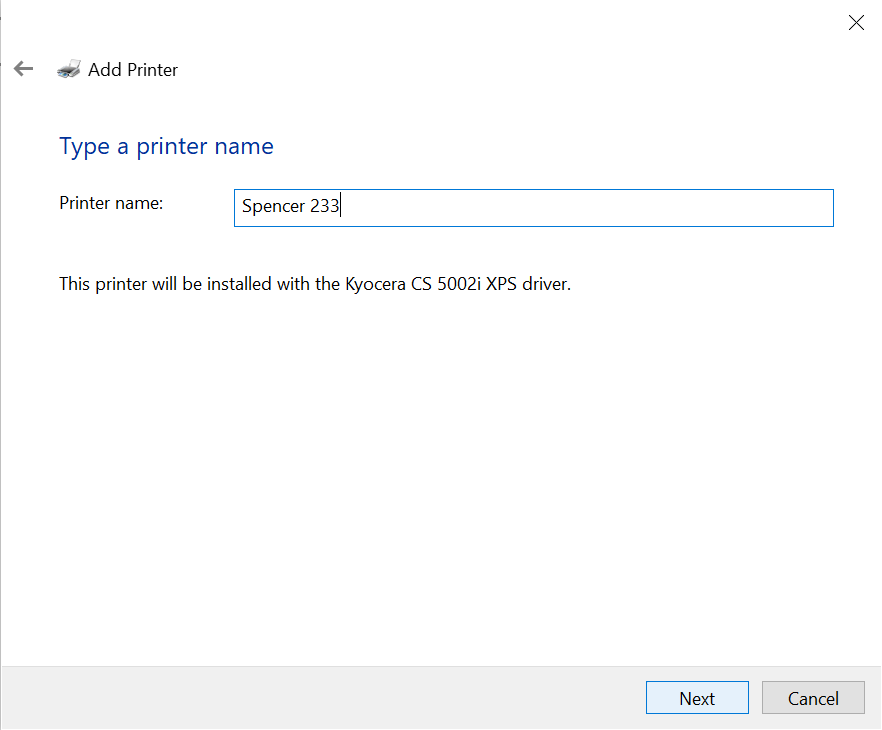
7. Change the name of the printer to something that you can easily identify, then hit next:
You're now ready to print! You can use the print queue, or simply attempt to print a website, to make sure it works properly.
**Don't forget to connect to EDUROAM (if you are on a wireless device) in order to print.**
Problems installing your Office Printer?
Contact our Help Desk:
helpdesk@sewanee.edu / 931-598-1369