step one: Request a University website
In order to begin creating your project under a University-hosted website, first start by requesting a website using this form:
Request a WordPress Website
step two: sign in and review admin functions
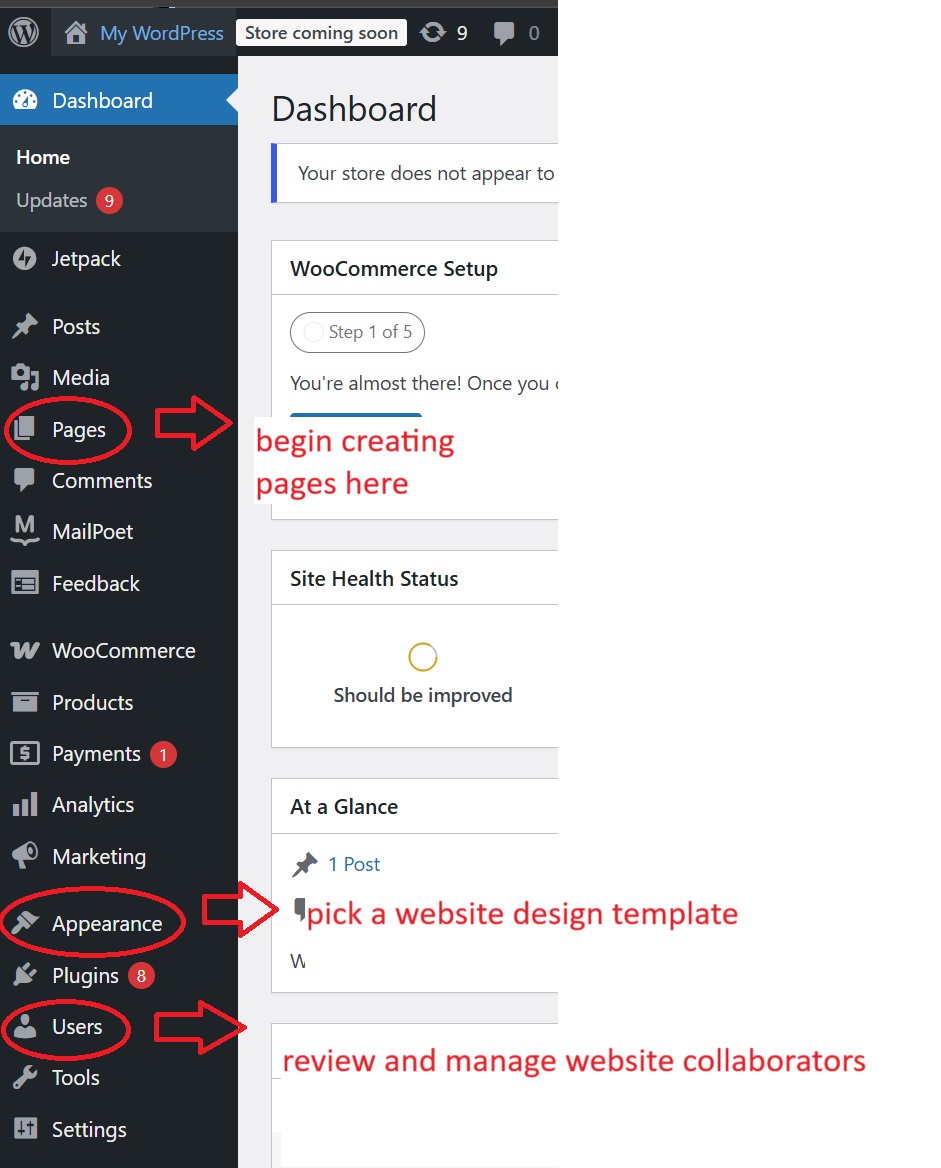
Once you have successfully received your University website, you'll be given a link and credentials to sign into the WordPress admin portal.
When you've logged in, you can review your admin functions:
step three: Pick a template
To get started, you should pick a site-wide theme that will work for your website project. This can be done from the Appearances tab on the left hand side: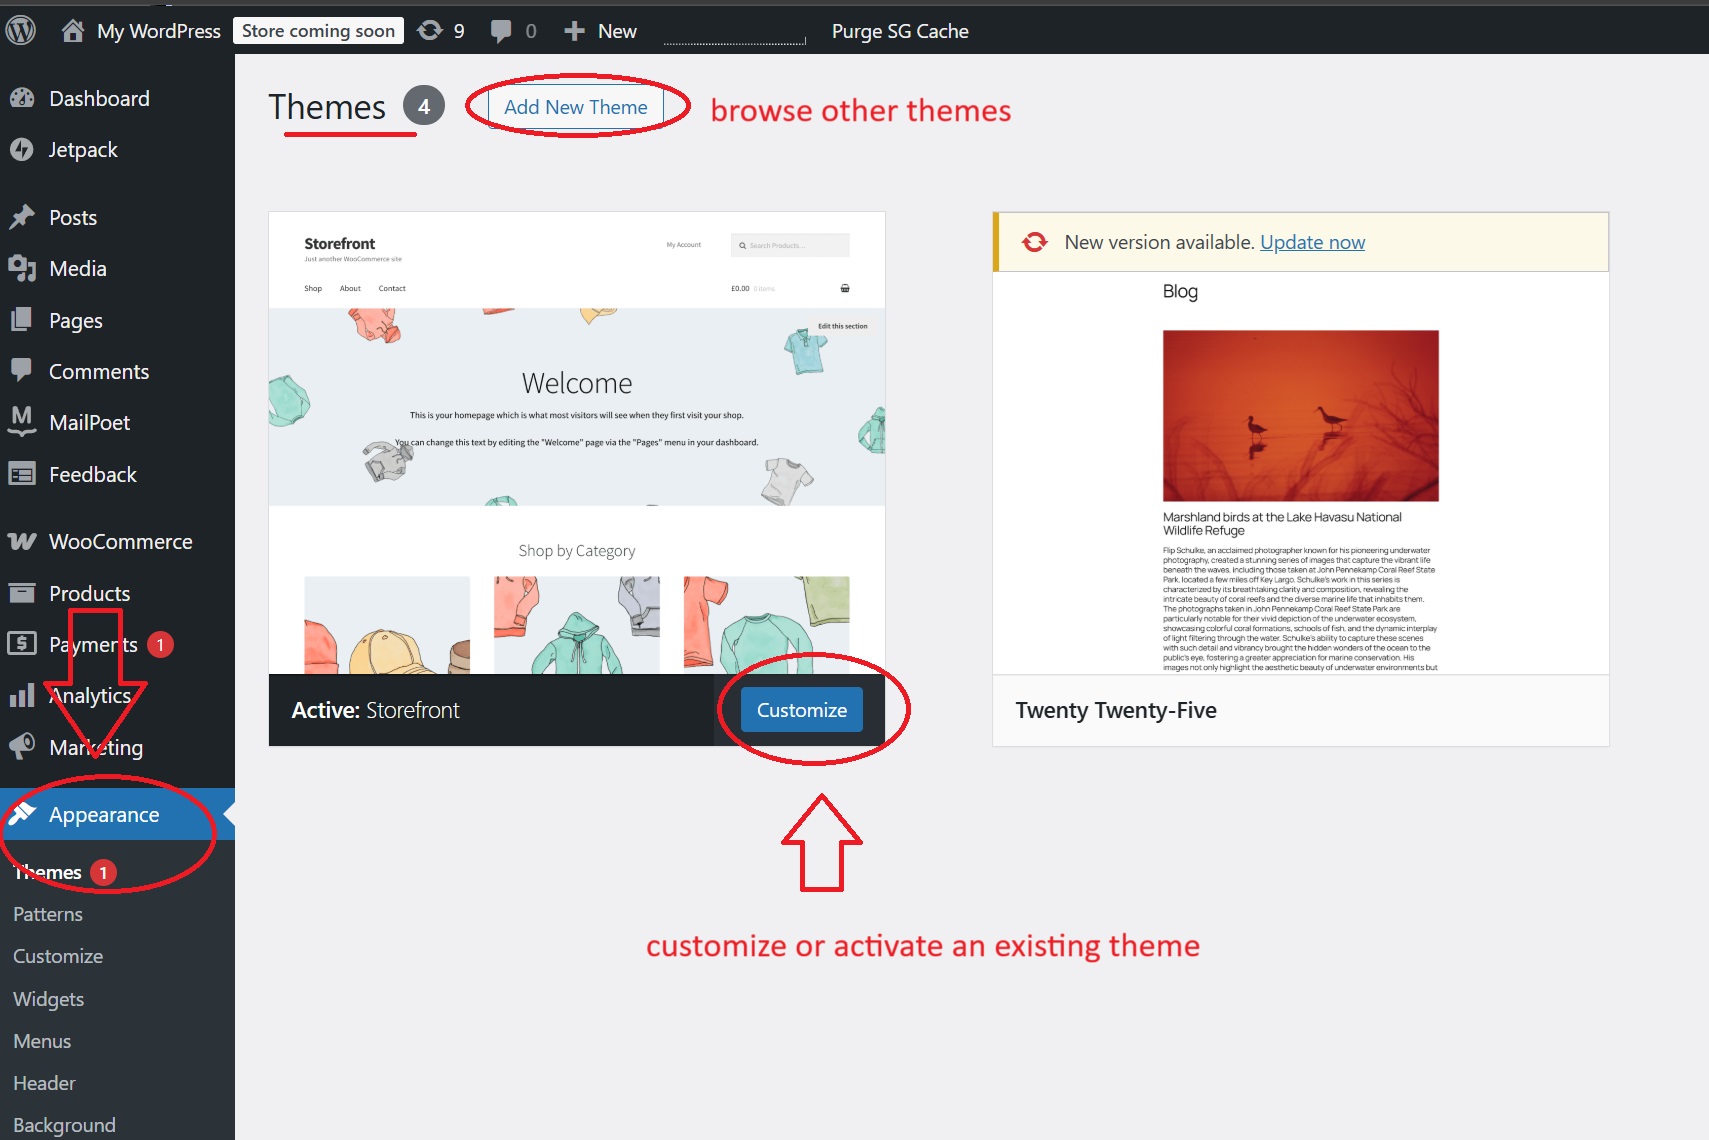
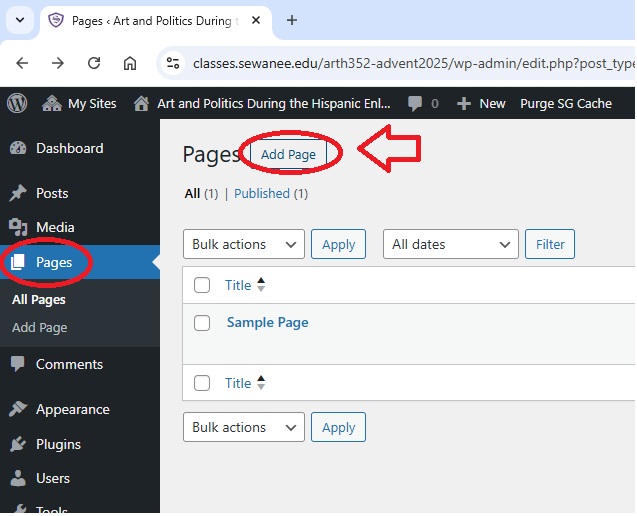
step four: create a page
On the left hand side, click on pages and choose add page to create your first page.
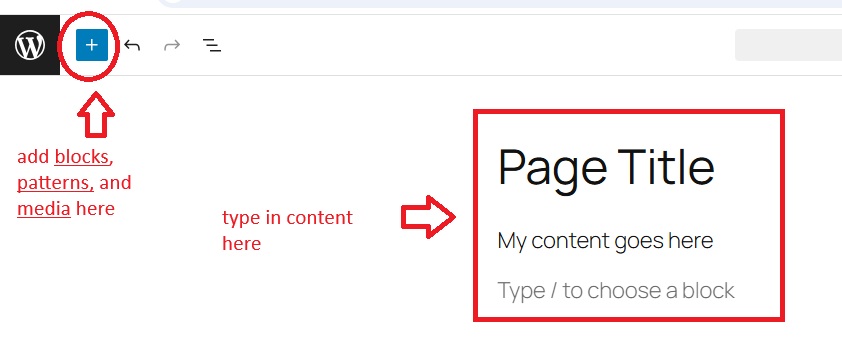
step five: add your content
Once you have your new page, you can start by typing in content directly, or using the + sign in the top left to add blocks, patterns, and/or media: